Hello,
Today is like to share a process with you on how I like to light my interior images.
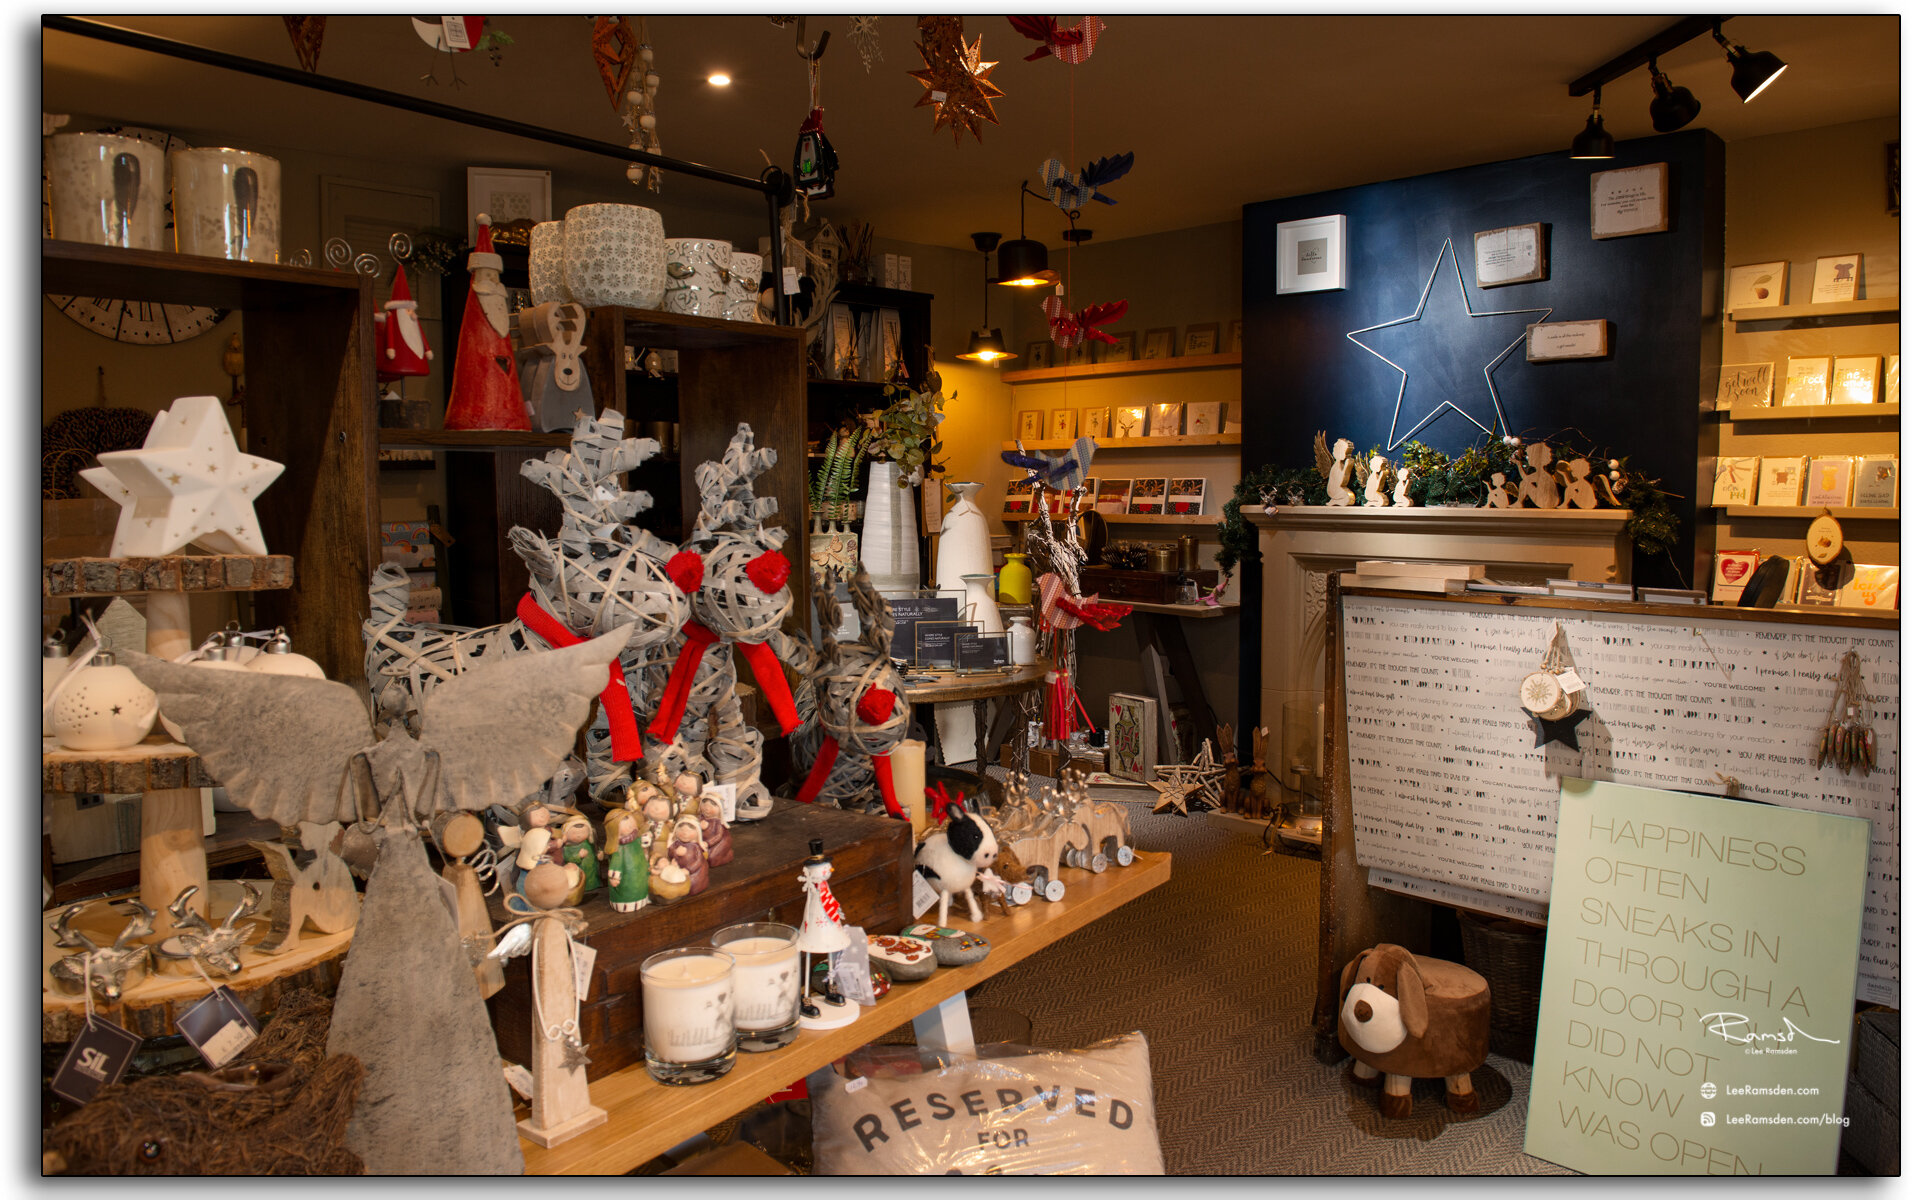
If you’ve ever tried to photograph a building interior, you know how tough it can be to properly expose all parts of the scene. You know how many areas tend to fall into darkness.
When this happens, many photographers will just try to recover the shadows with a brighter exposure or some dodging and burning. Unfortunately, that can lead to muddy results which often display a lack of texture and colour.
One technique that I like to use with modern photographic tools is light painting.
One method would be to literally stop down the aperture, wear an all-black outfit, and wave a light around for a 30-60 second exposure to fill in shadows.
Luckily, things are a bit easier these days. You can use a single Speedlight and see the results instantly.
I personally like to use a speed light and a remote to pull it off, (depending on how much power I’ll need.)
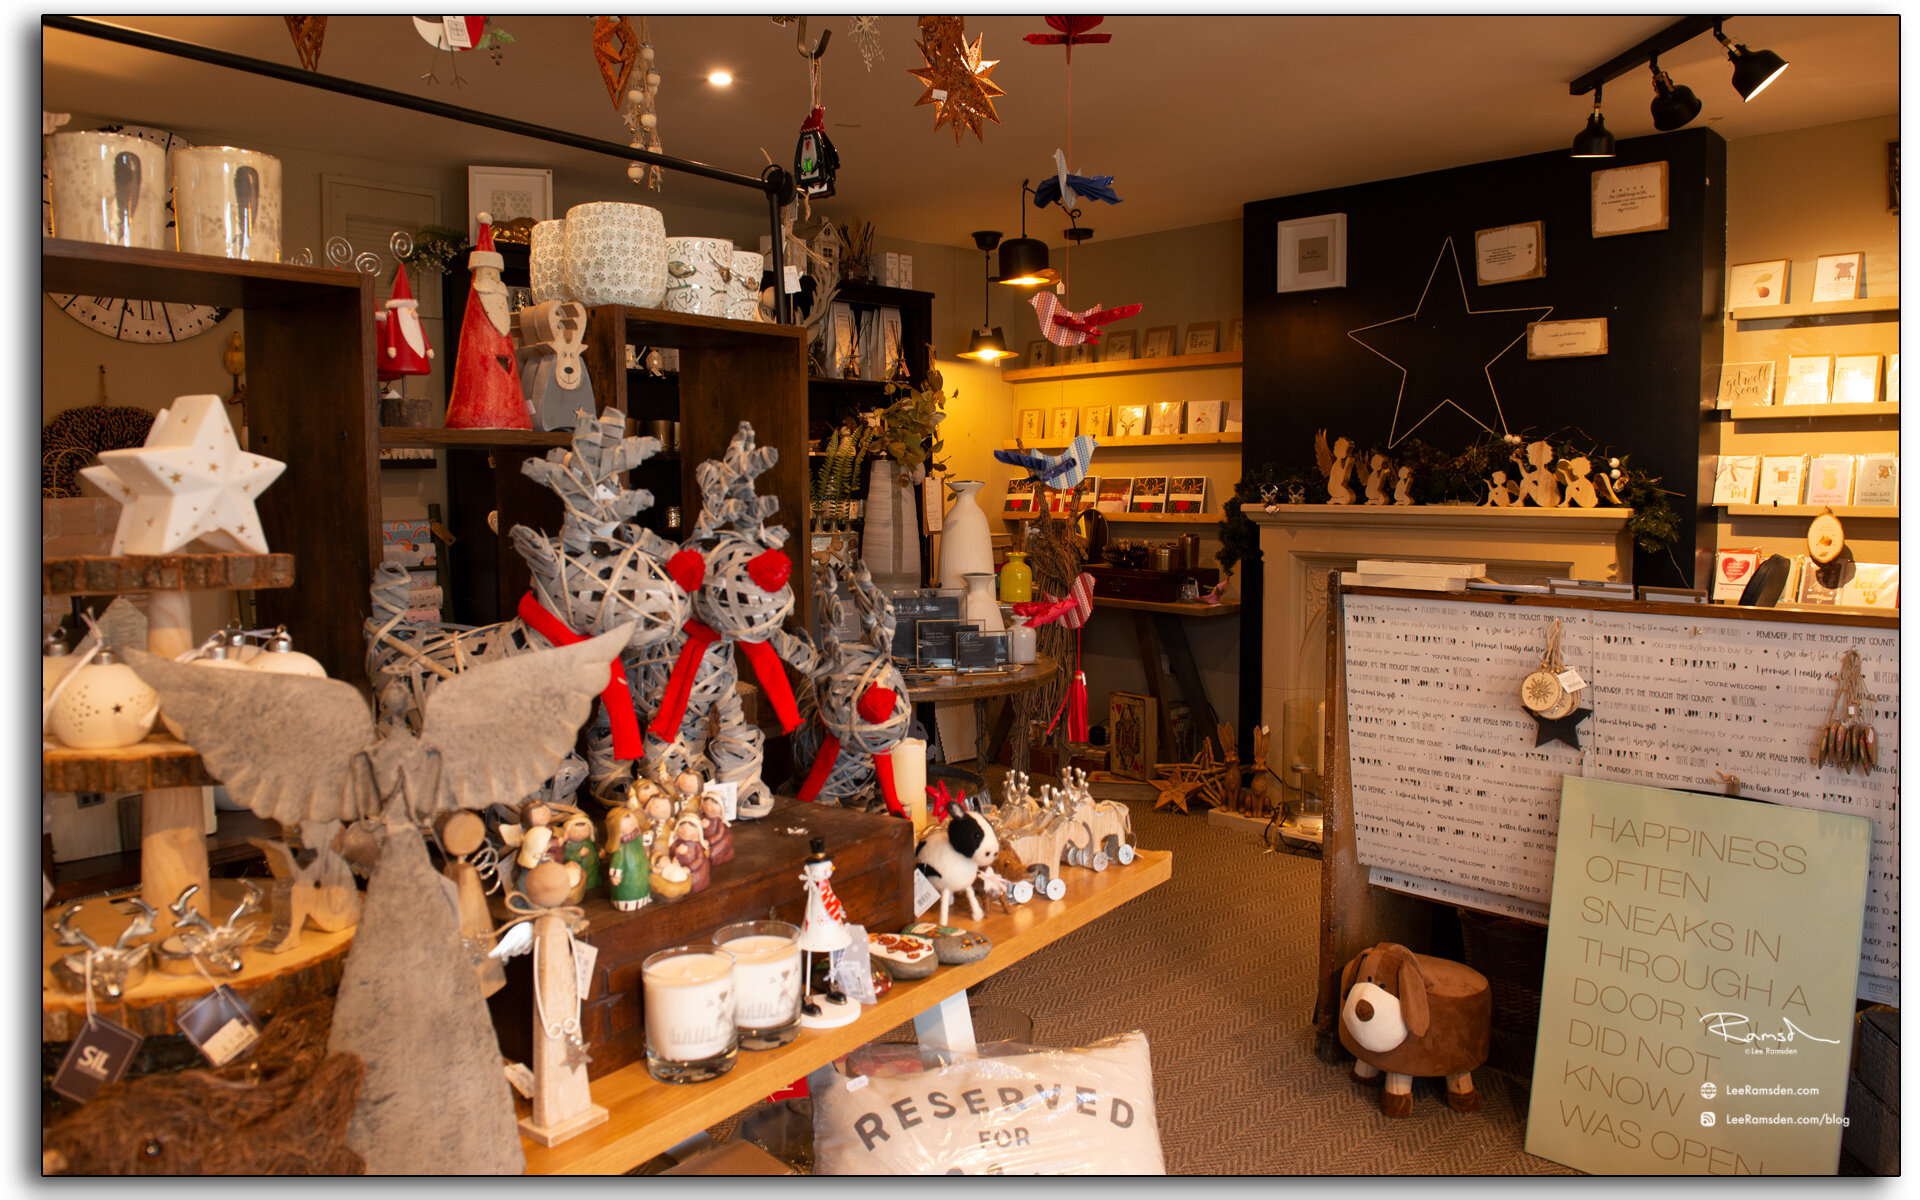
The aim here is to add light in spots that appear to have natural light falling on them – either from landscape lighting or interior lighting. Adding flash or hot light will dramatically clean up the quality of the light, by giving it direction and fall off. Whereas the ambient light may create a muddier appearance due to having no directionality, incoherent colour casts or being mixed with the window or interior lighting.
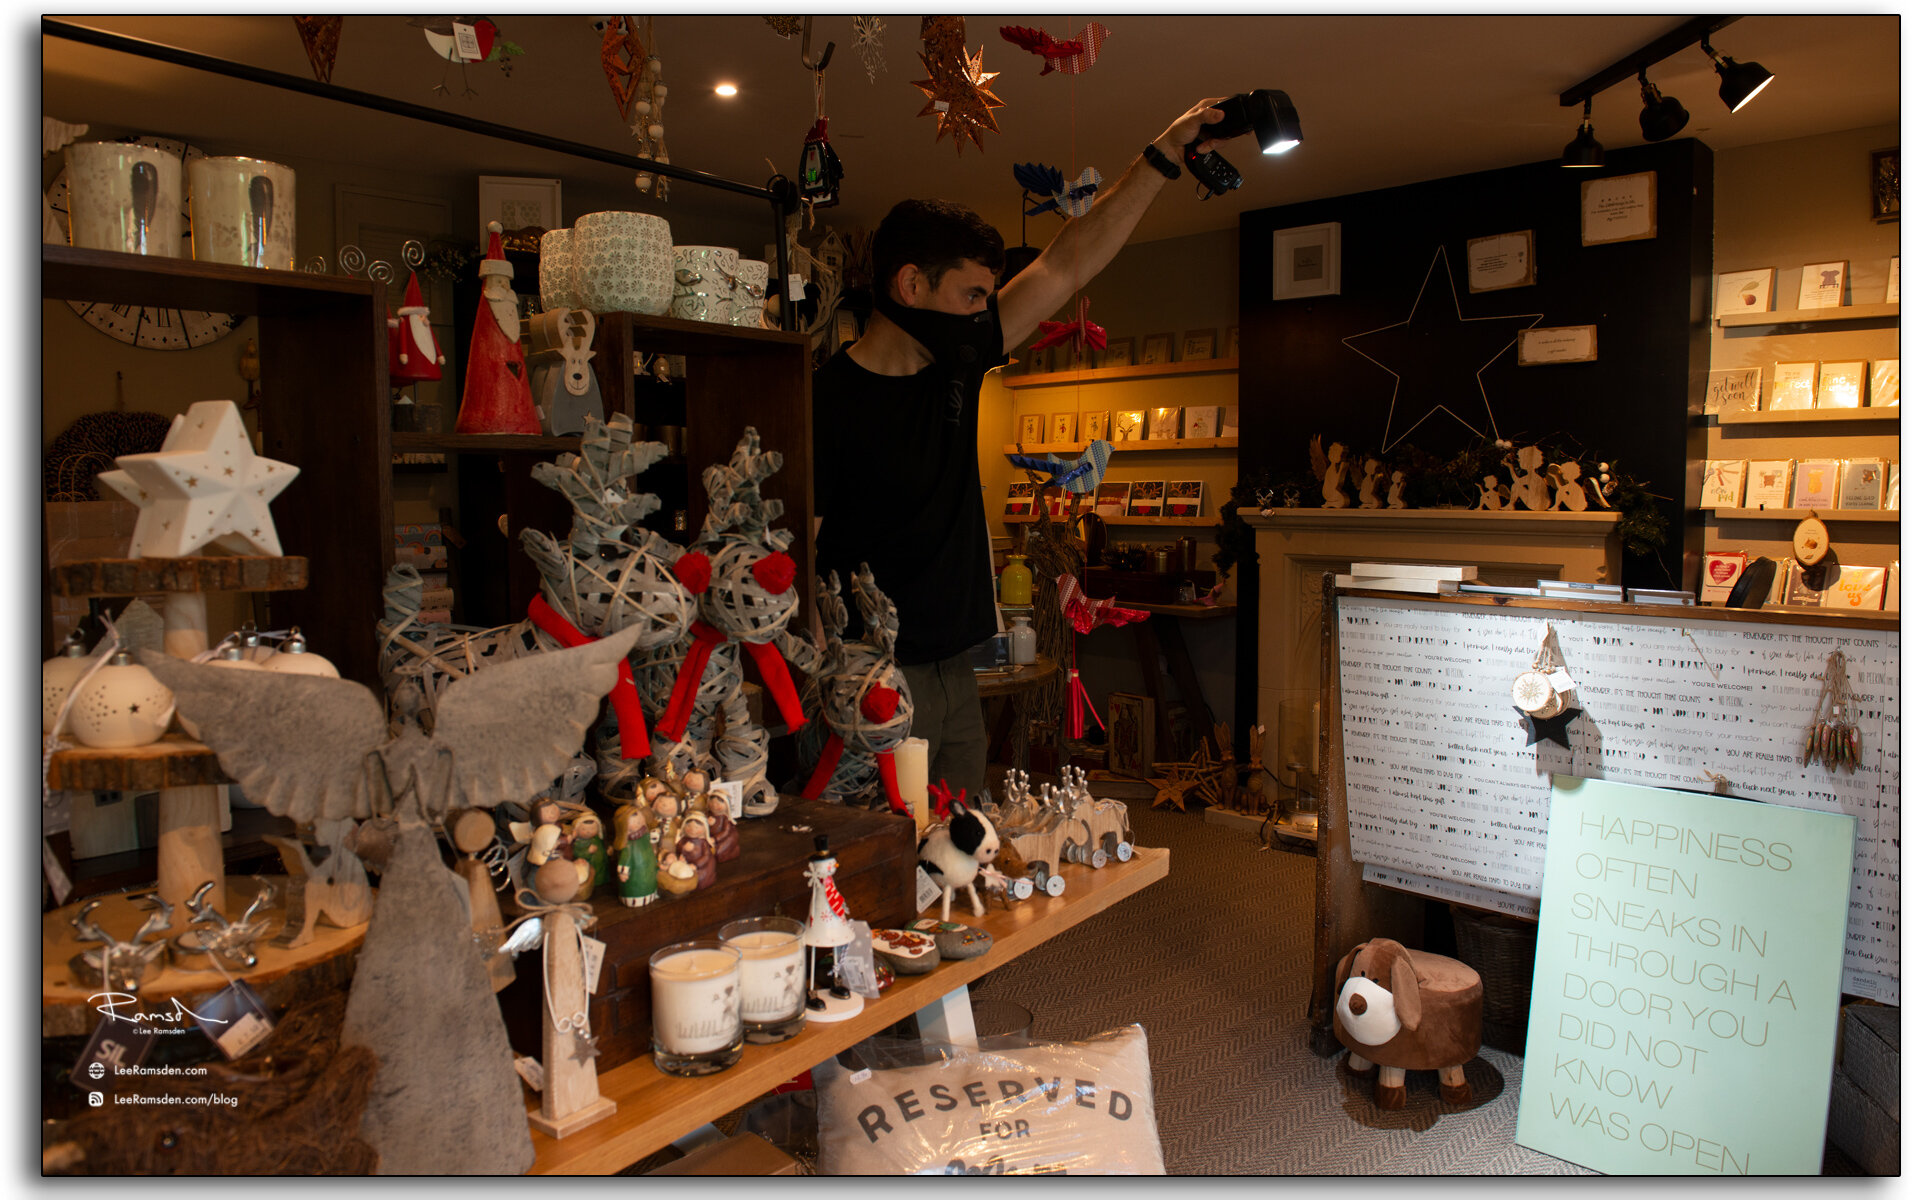
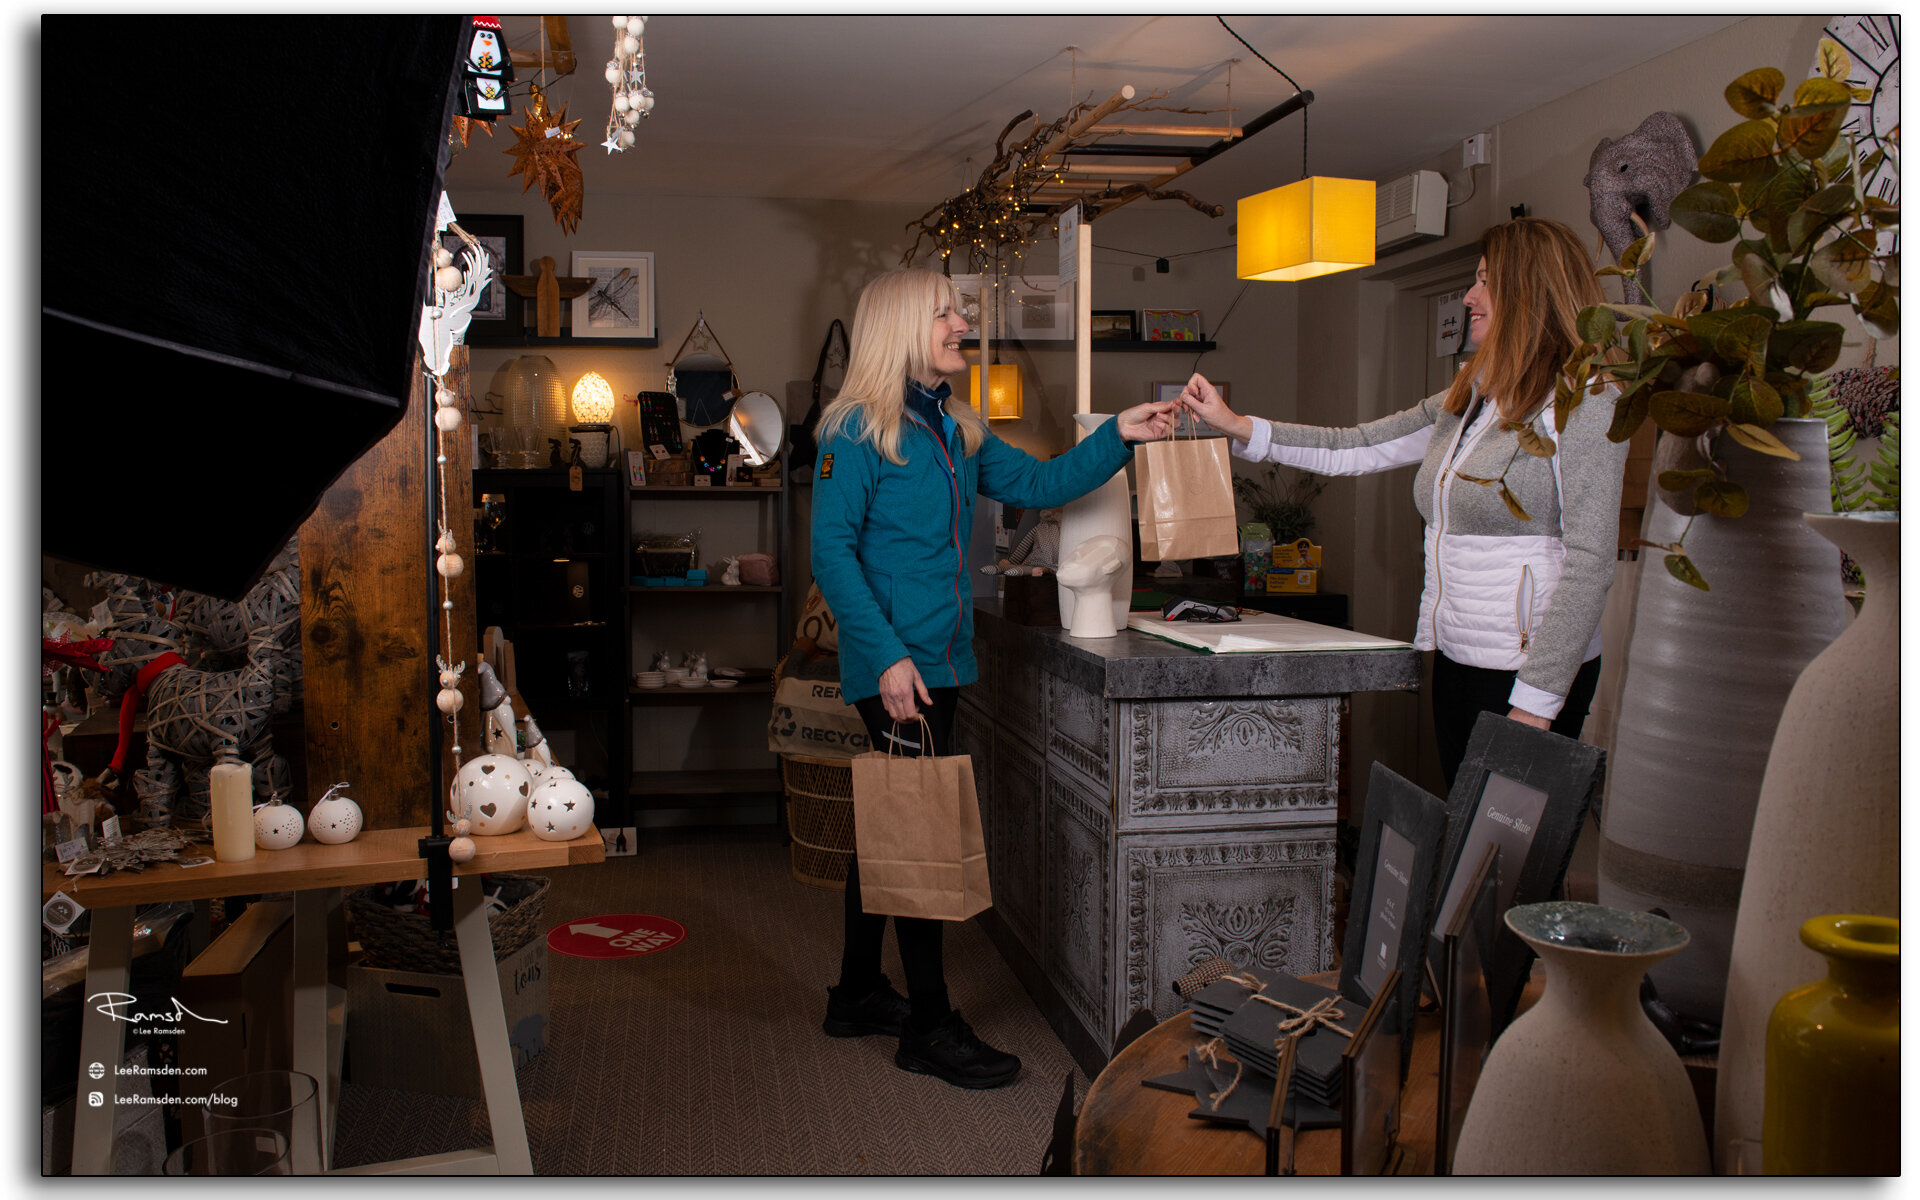
Above is an image of myself adding a pool of light onto a foreground part of the scene.
A couple of points to remember -
The camera has to be on a tripod or secure point and does not move throughout the process.
The camera has to be in manual mode to ensure that each frame remains consistent. Focus, exposure, ISO, colour temperature etc.
While using a Speedlight I use pocket wizard triggers, one on the flash, one in the hot shoe on the camera, and another as a trigger in my hand which is able to fire the camera and flash remotely.
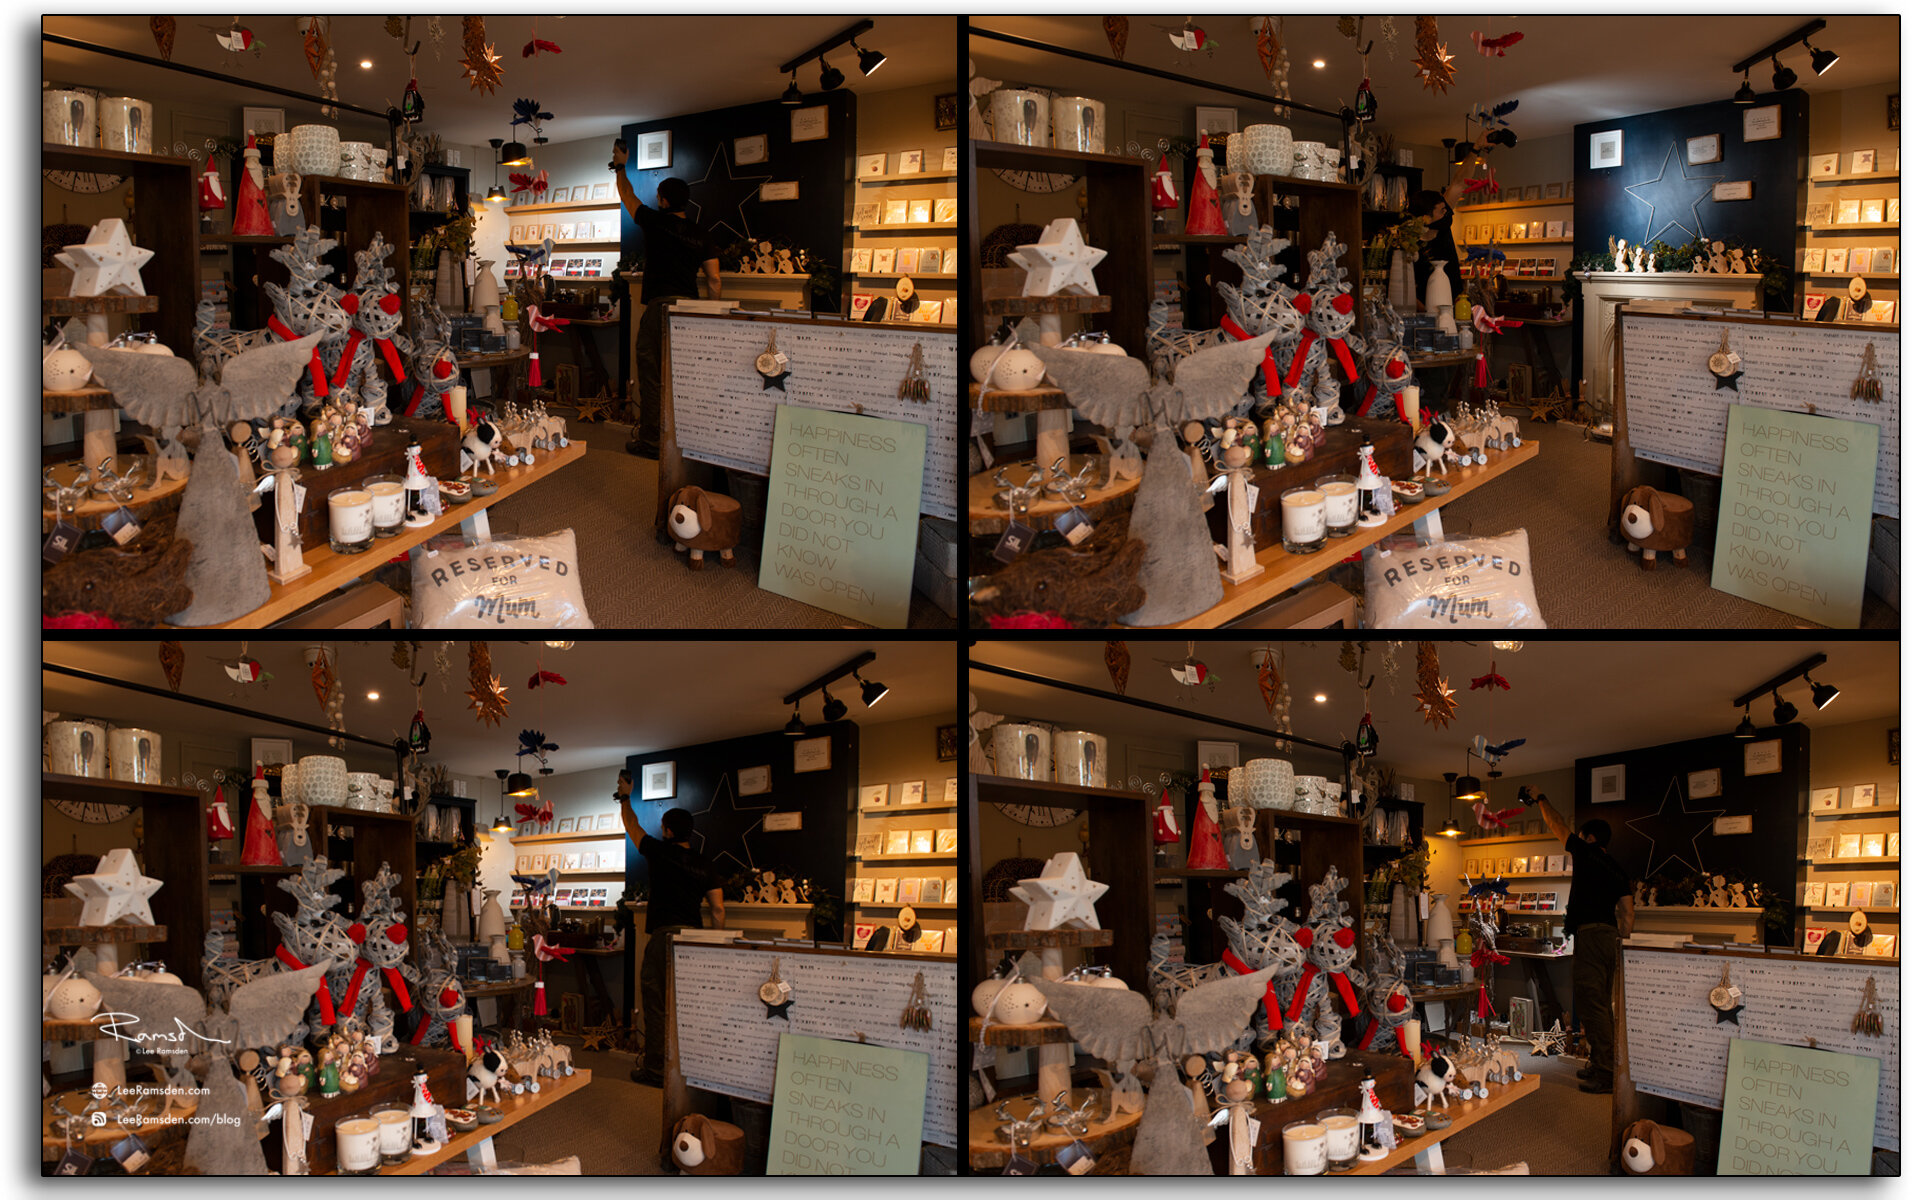
Again here are a few more images of me moving around the scene adding more illumination.
(Schoolboy error though, this time I forgot to pack my coloured gels and so had a bit more photoshop work to do after the fact.)
Once all the images are captured, they are imported into photoshop and aligned.
Using a base layer, (without any flash) I add each illuminated frame on top.
Changing the blend mode to “lighten” and adjusting the opacity, I am able to change the intensity and have greater control of what is lit.
Finally using a layer mask, I paint out everything that is not required to help to keep the image clean.
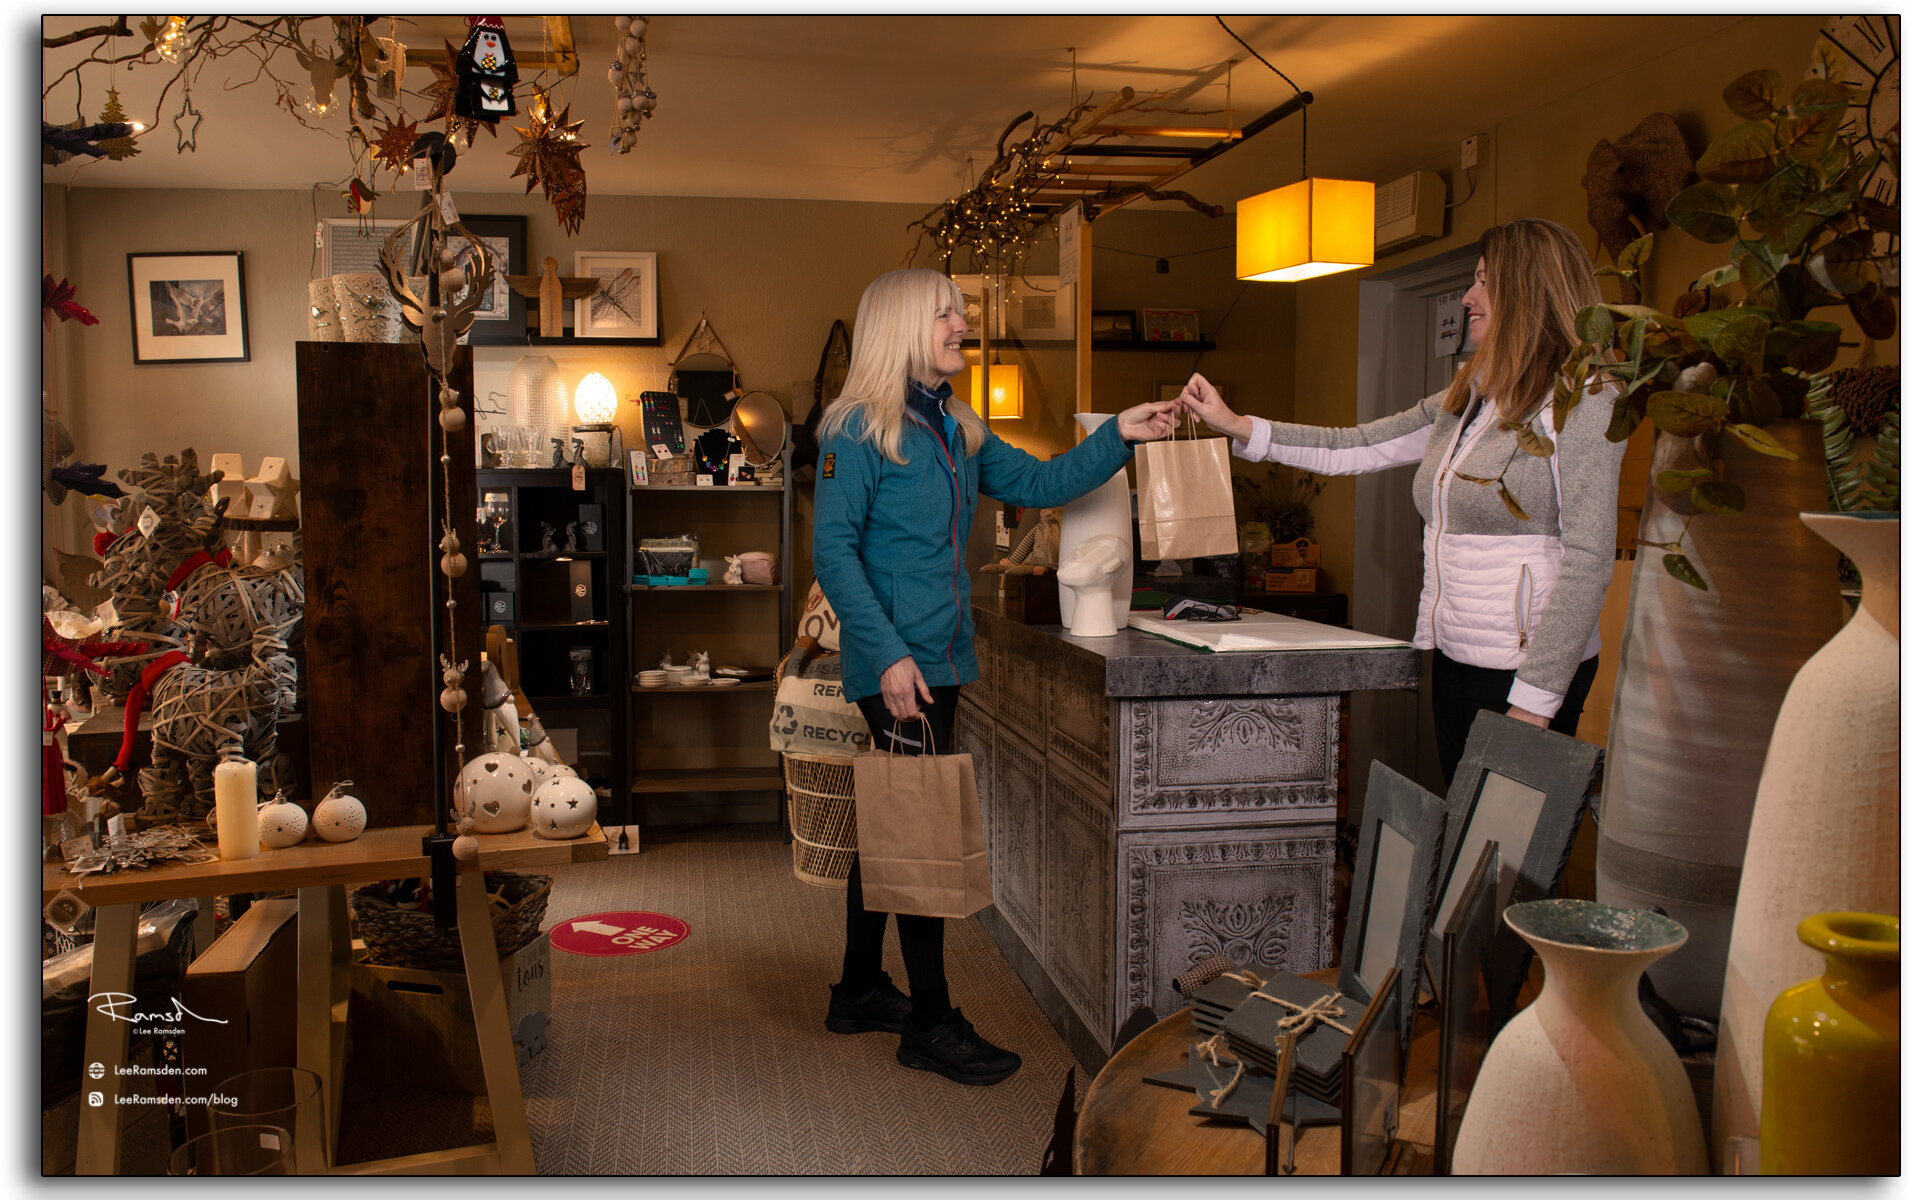
The final example of this technique in use.
Personally, I think the before image would have been a flat, uninteresting image. By adding light to different parts of the scene I feel brings in greater interest and a more polished professional product for my clients.
If you have any questions or would like to know more about this technique,
please drop me a note.
Kind regards,
Lee
