
Dungeness train track colourised red landscape image
In this post I am going to try and explain how i edited the image above.
I will be using Photoshop CS5 and the plug-ins, Silver Efex pro and HDR efex pro by Nik Software. Plug ins are just a much quicker way to do something, every thing in a plug in does can be done just using the tools in Photoshop but I would like to show how I do things.
If you are totally stuck and would like to know how certain plug in effects are created in Photoshop please ask and ill try and answer.

To create this image I took 9 exposures 0.7 of a stop. 1 correct exposure and then 4 bellow and 4 over.

For HDR processing at the moment I am loving HDR efex pro by Nik software, I used to be a big fan of Photomatix but Nik are kicking ass at the mo.

Selecting the images to open in Photoshop through the HDR efex Pro plug in.
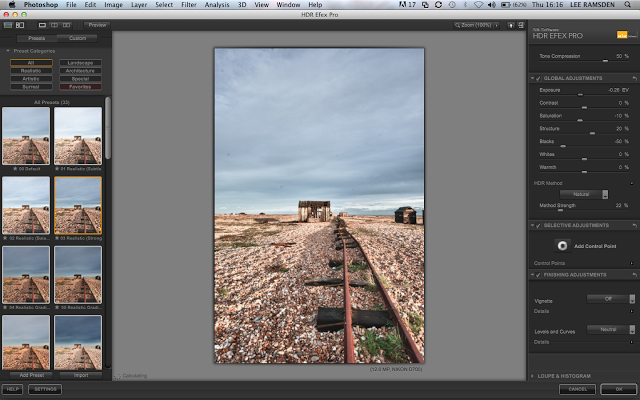
On the left you can see all the presets. My style with HDR tone mapping I prefer a natural look, but there are plenty to choose from, so I would recommend to be creative and experiment.
This time I have chosen realistic strong. Once clicking done the image opens into Photoshop.
As you can see the image is pretty flat and not a lot of contrast. But I personally like to start like this and then I can add depth and contrast in a way I like too.
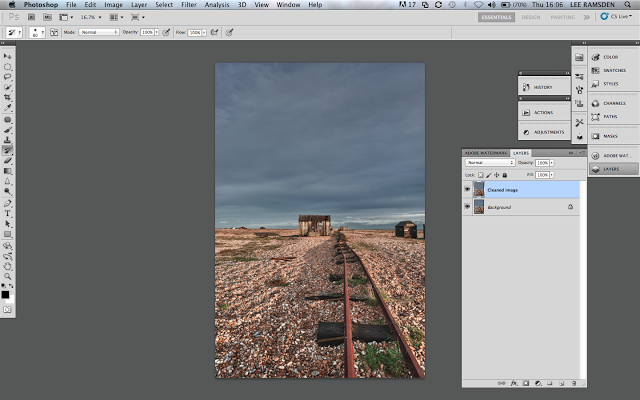
I duplicated the background layer by clicking (cmd/control) and the “J” key.
As you can see there are some dust spots, probably from my lens or the cameras sensor, and so I used the healing brush tool. I prefer this then the spot healing tool, as I can pick different sample areas to maintain textures.
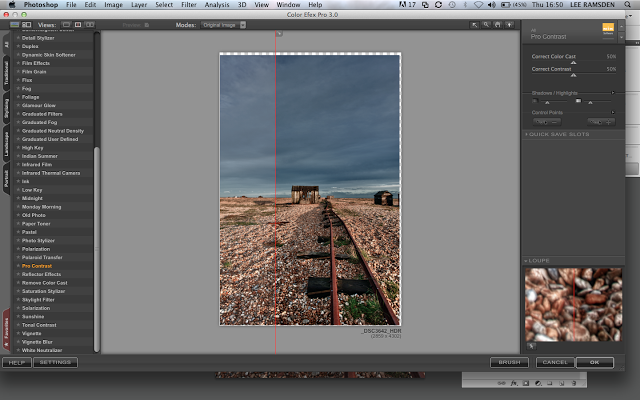
Now for a little contrast, I opened colour effex pro from the filters menu and chose pro contrast. I like the way it changes the colourings too. On the left of the red line is the before and to the right the after.
By clicking done it opens the image back to photoshop into a new layer.

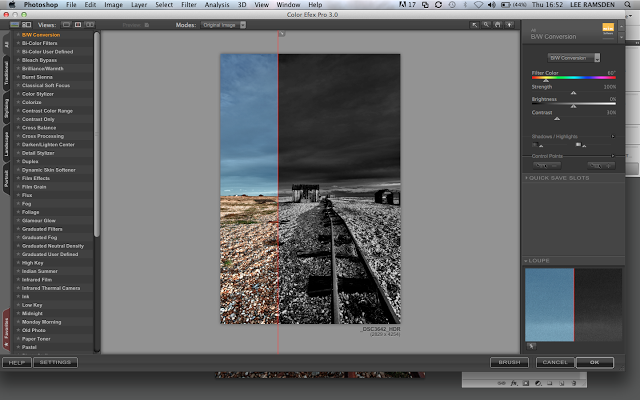
Next for the Black and White conversion.
I again used colour effex pro.


Now to boost the textures, I used Silver effex pro this time. I upped the structure till I was happy with the effect.

I wanted to lighten some of this image. My fave way to dodge and burn is too create a new layer. Fill it with 50% grey and change the blend mode to soft light.
Using the Dodge tool I brightened up the image to where I was happy.

The dodge and burn layer on its own to show what was painted.

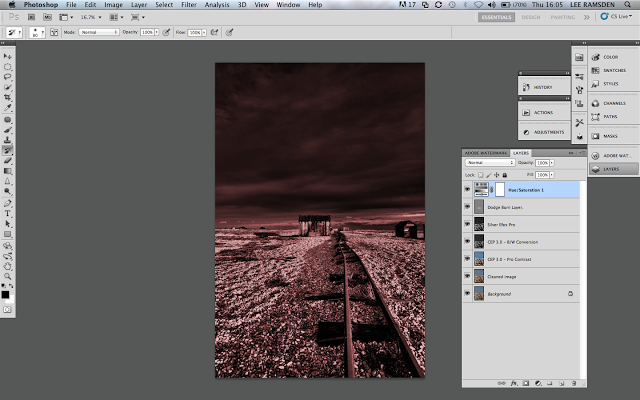
Ok now to add some colour. Clicking on the adjustments choose Hue/Saturation.

This dialogue box opens. Too add colour globally click into the colourize box.
Moving the Hue slider you can change the colour and playing with the saturation slider you can create any colour and brightness to your taste.
For a desaturated look which you see alot, if you play with the layers opacity, you can create some cool effects.
Clicking on the layer option at the top of the screen you can flatten the image and save it.
Done..