Tutorial

The Importance of Revisiting a Site – Photography Practice in Scotland

Photography series showing the importance of revisiting locations in Scotland, capturing how changing light and weather affect results.

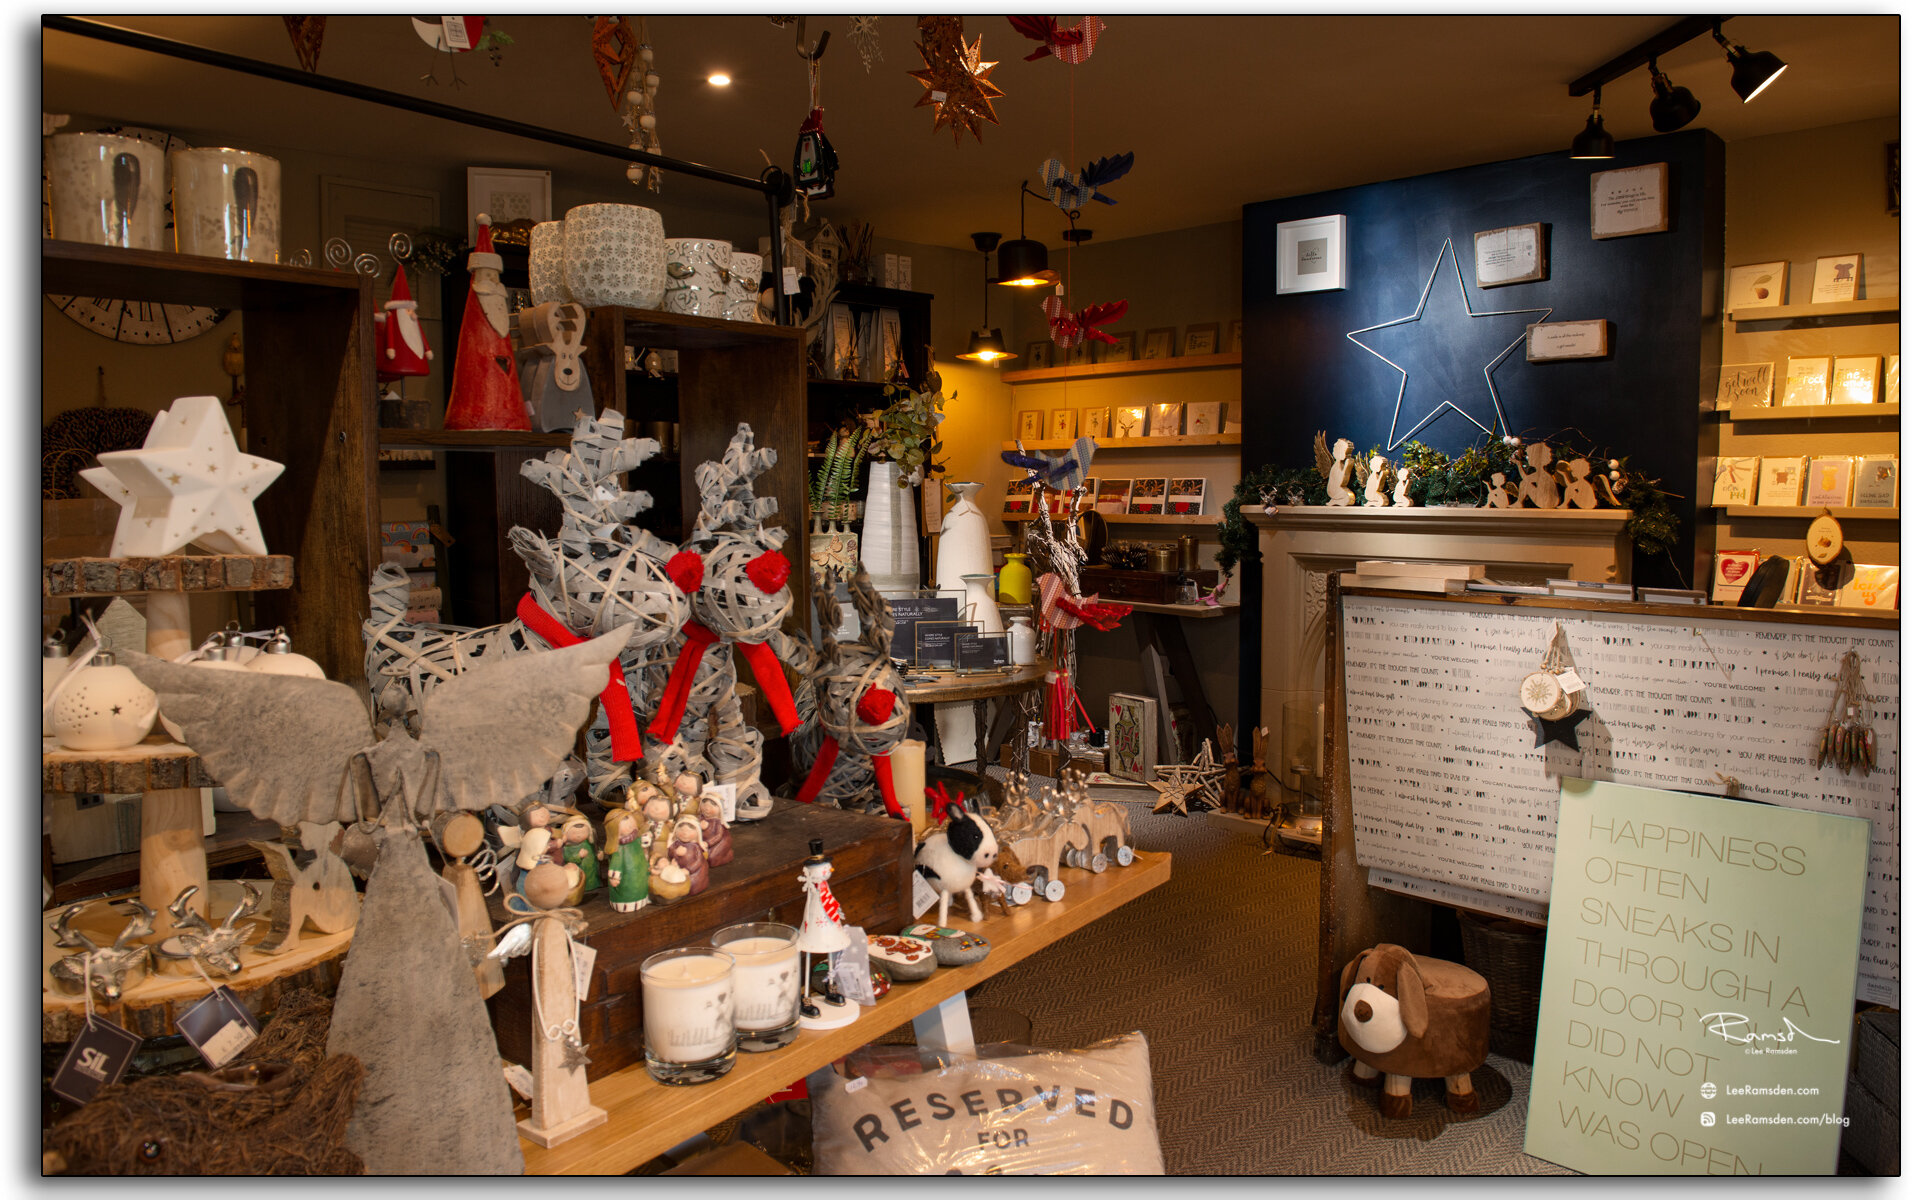
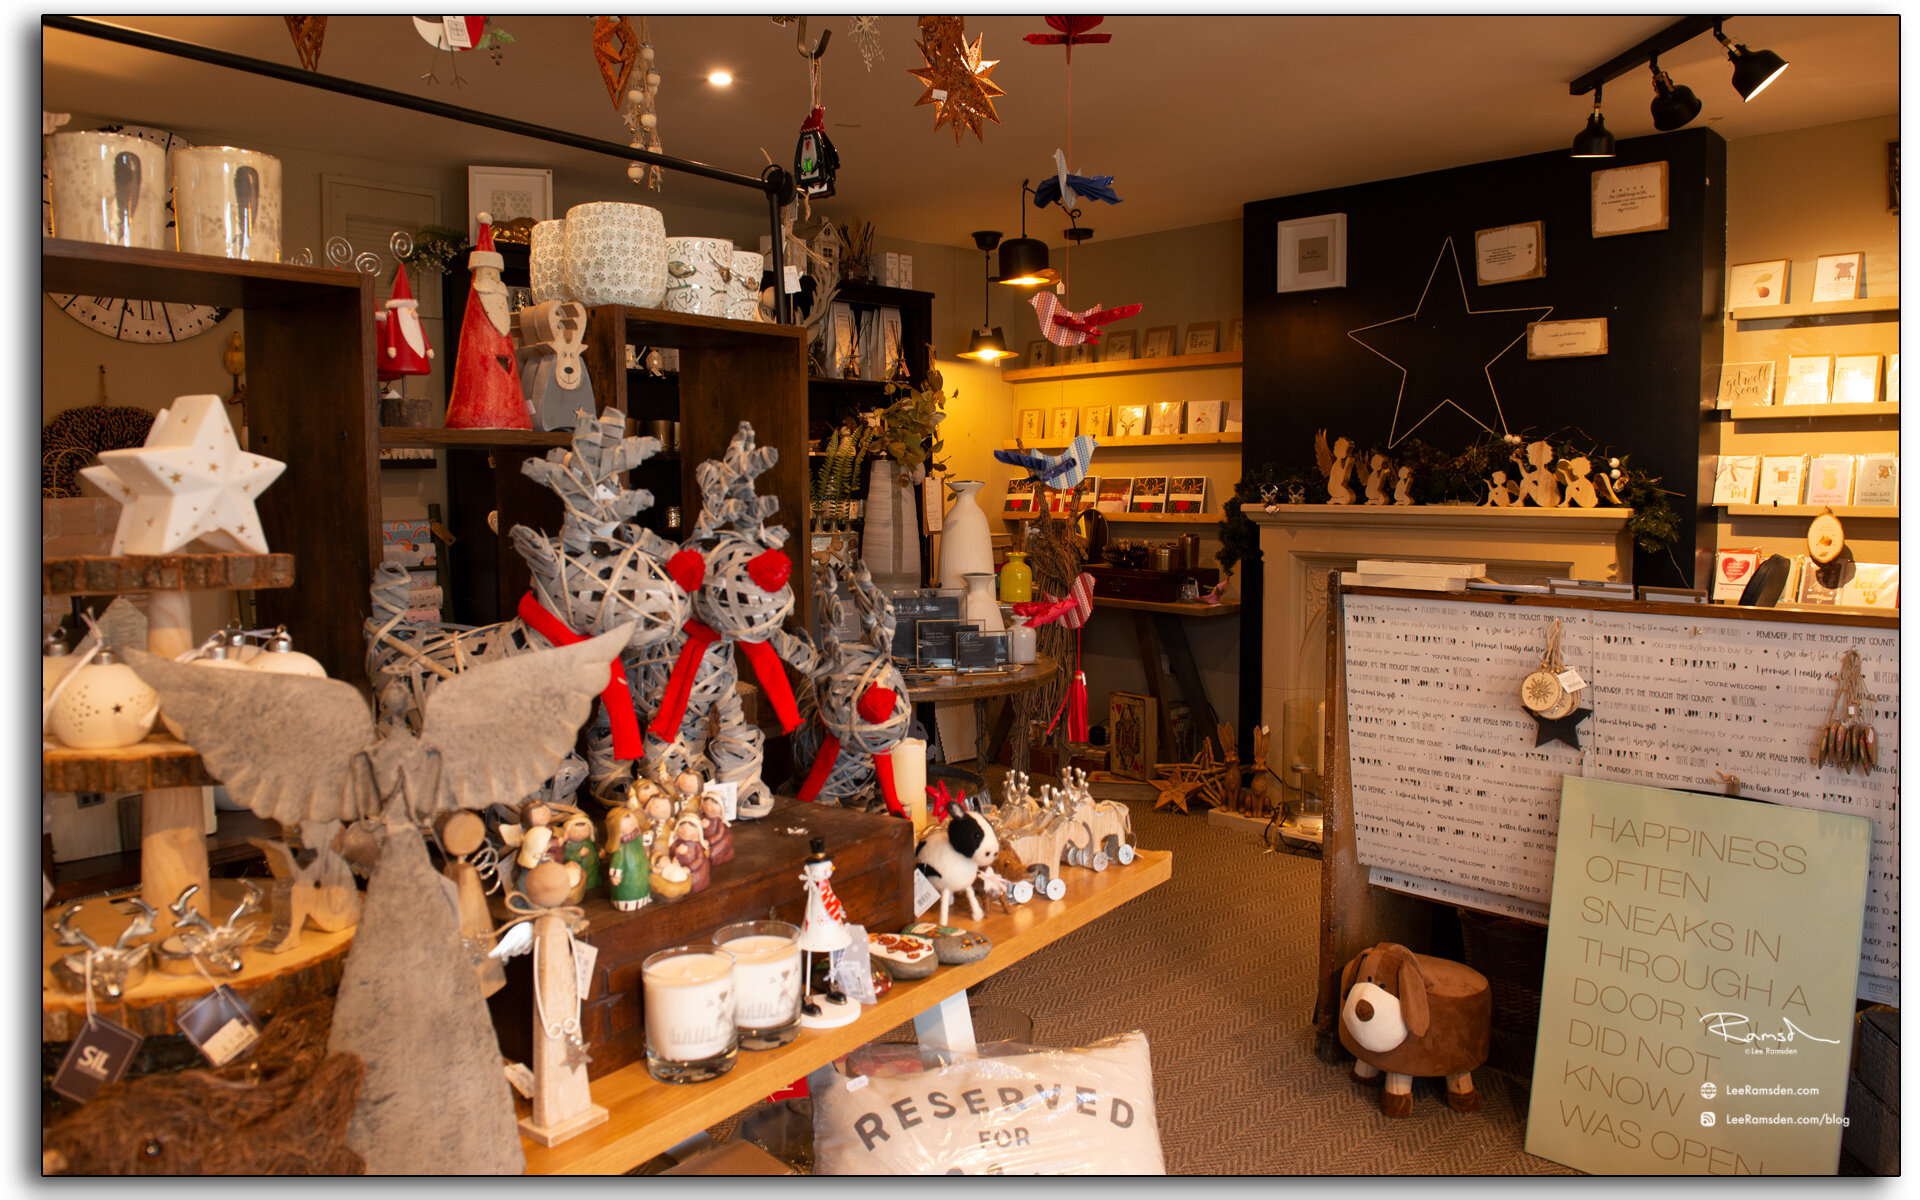
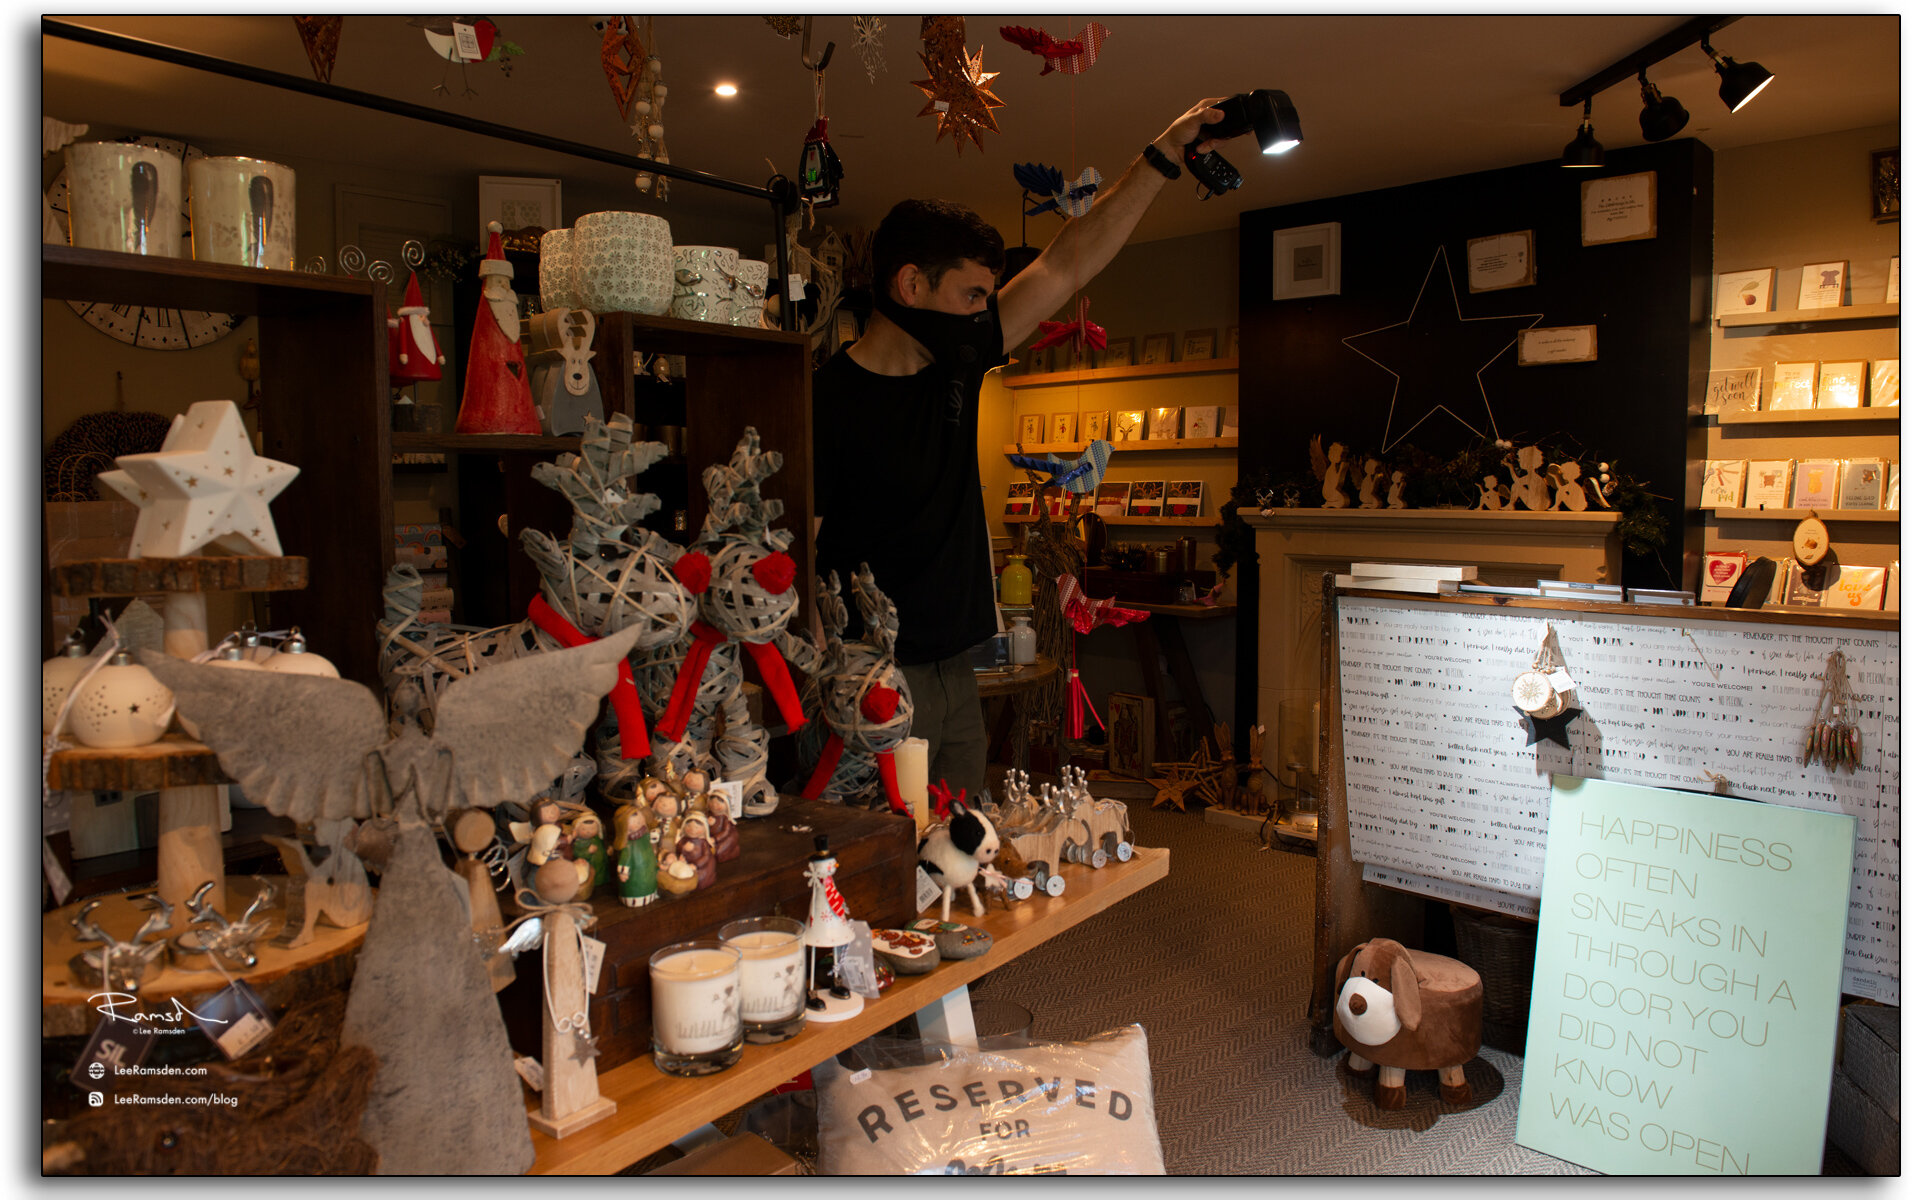
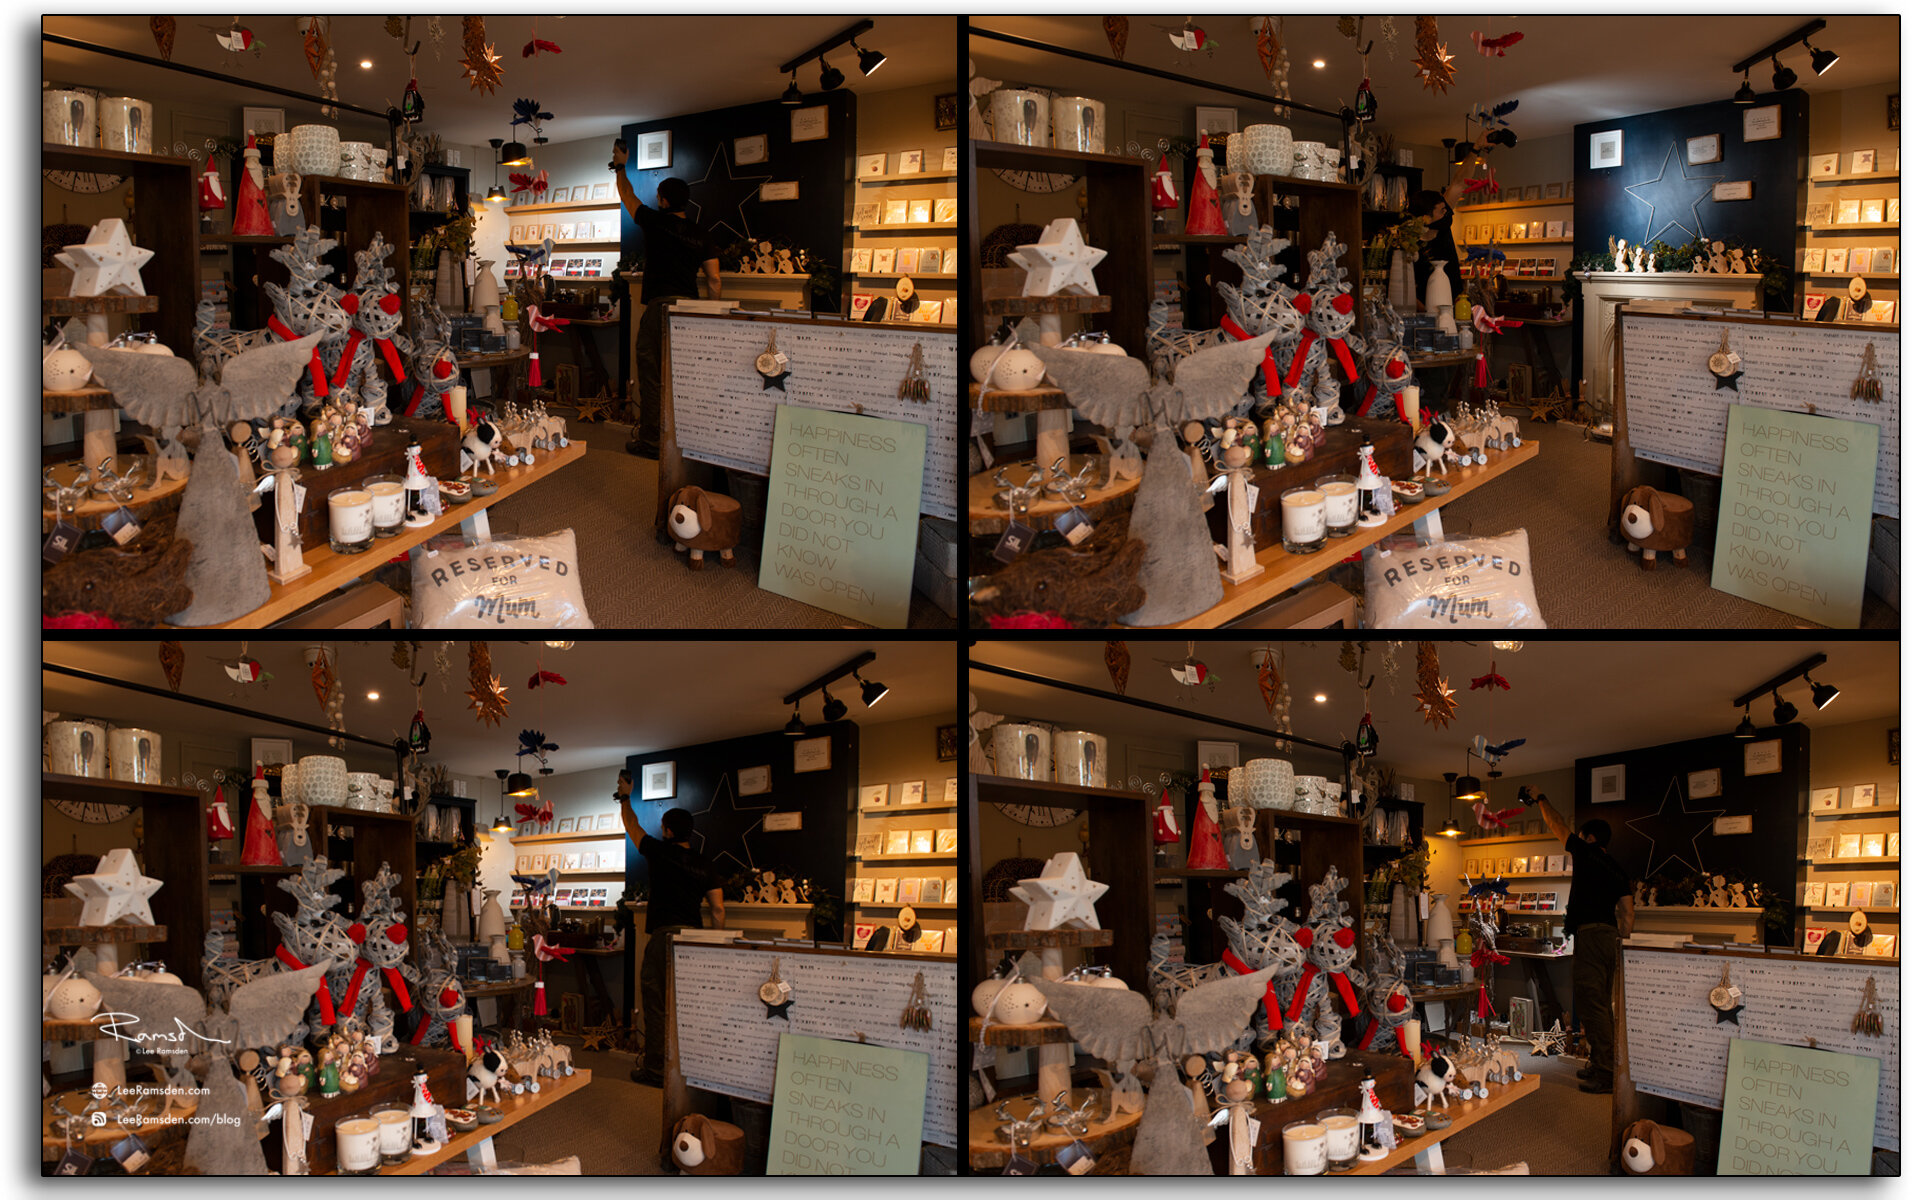
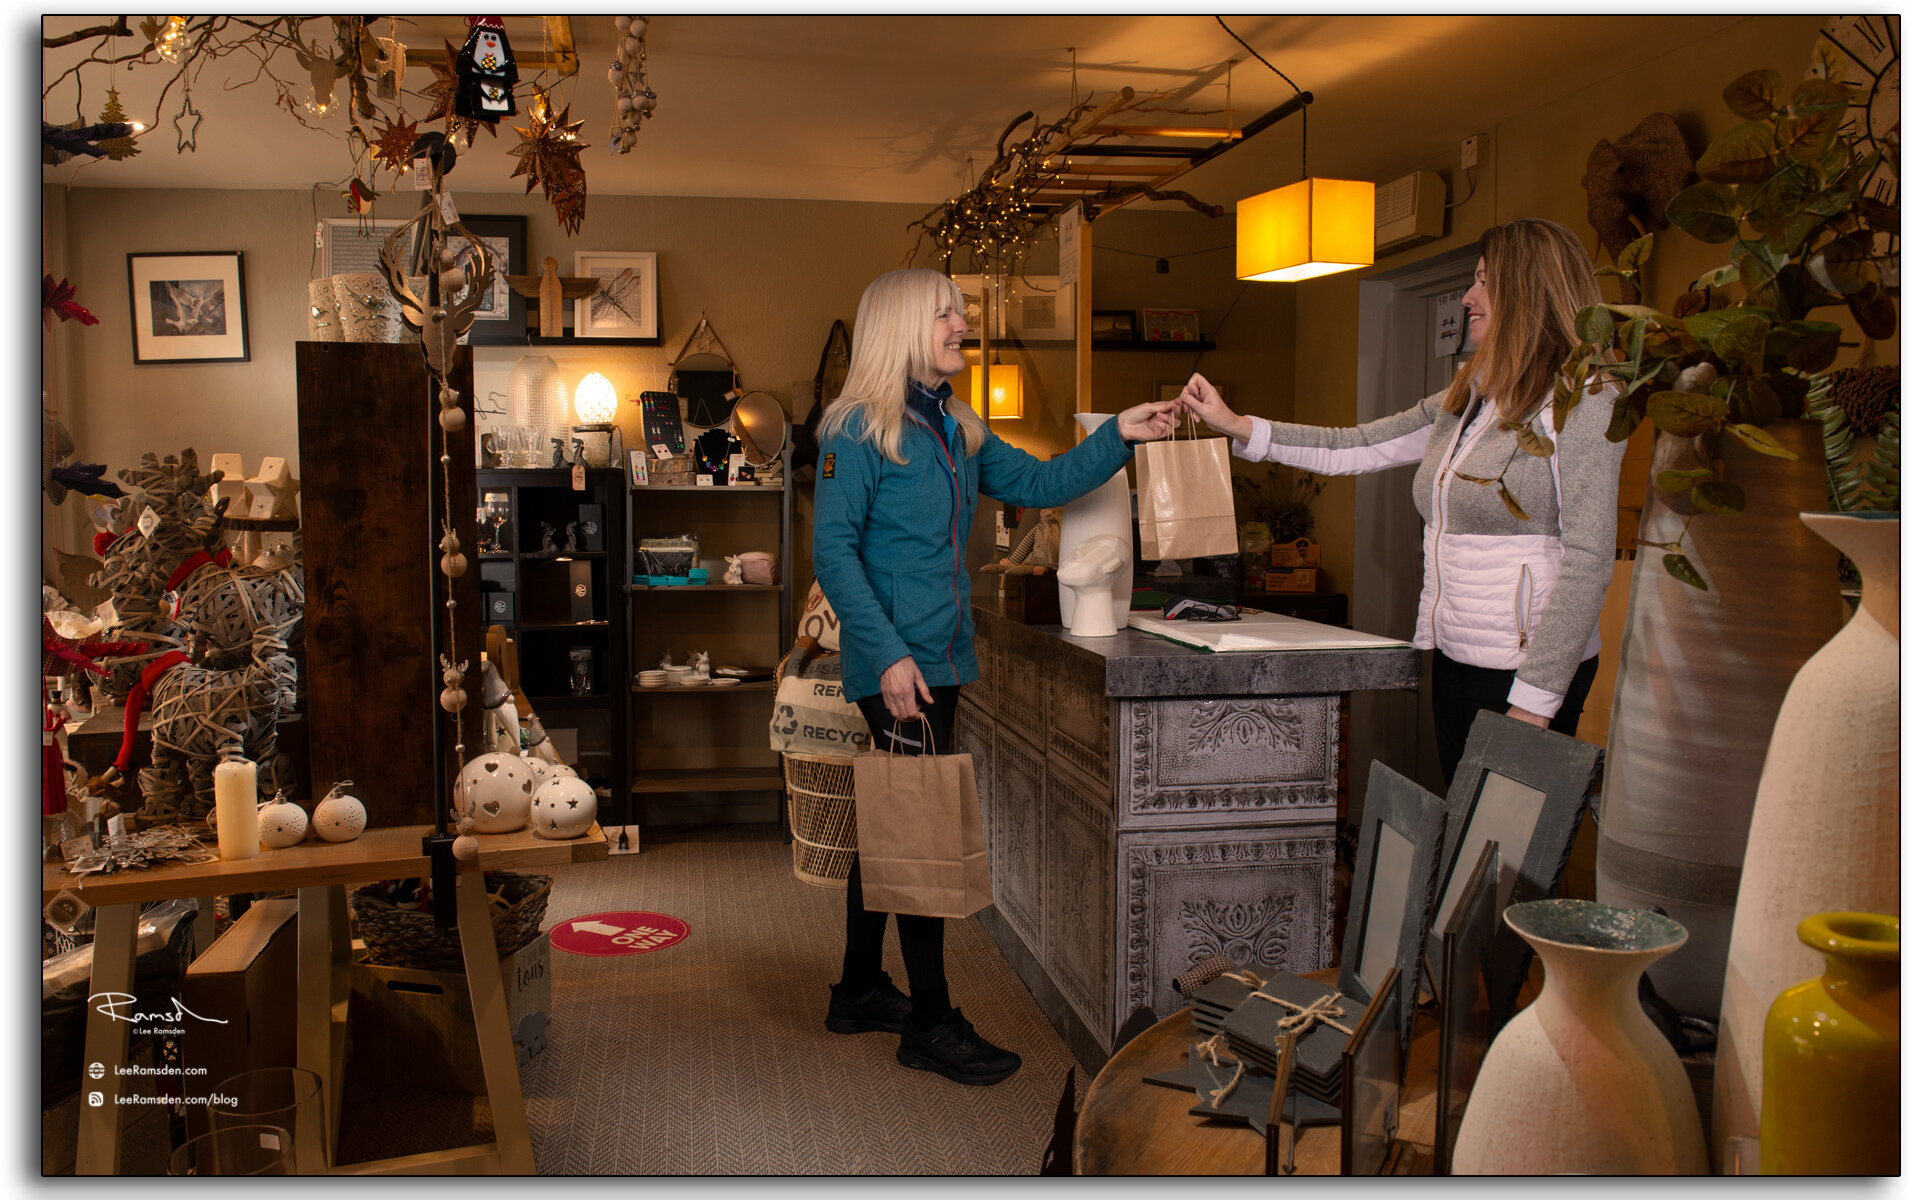
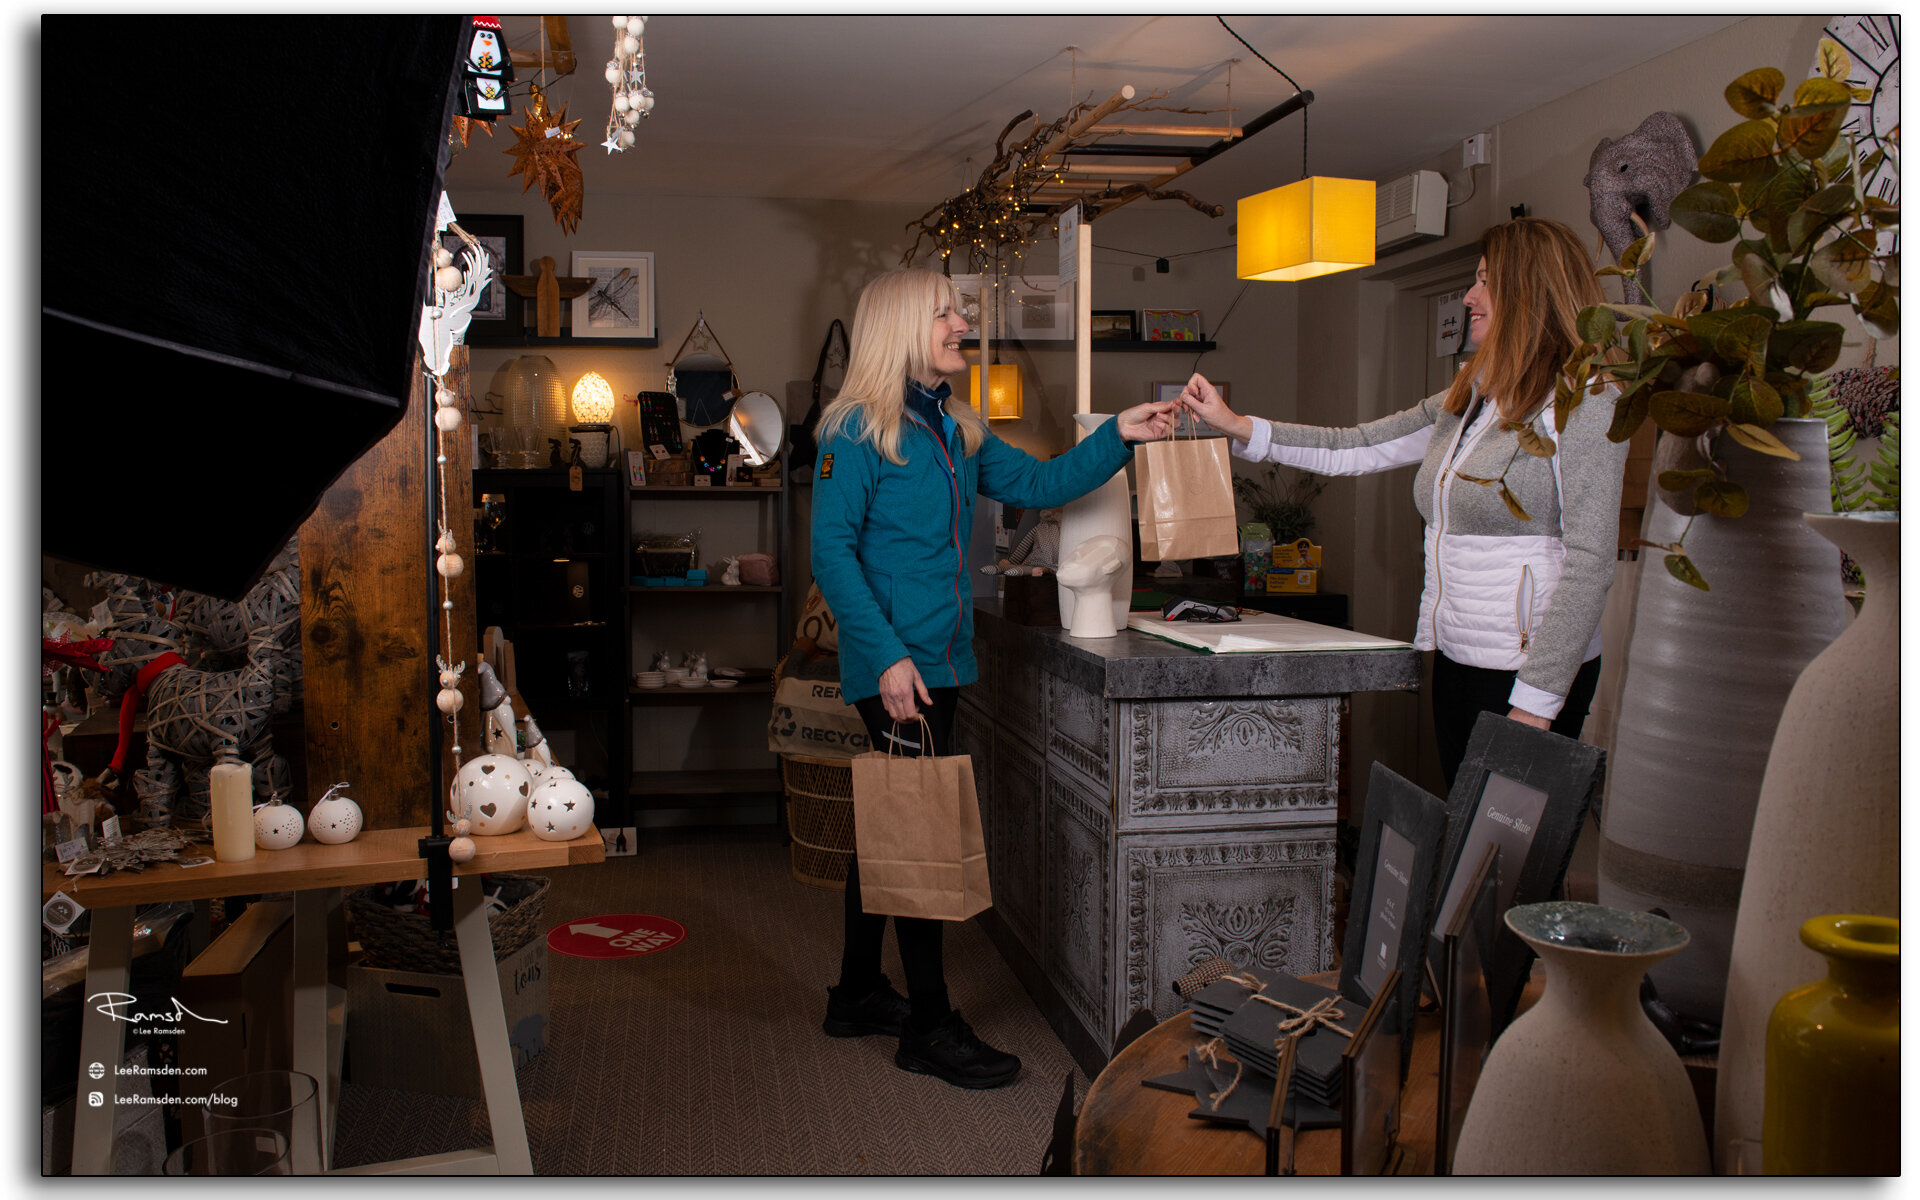
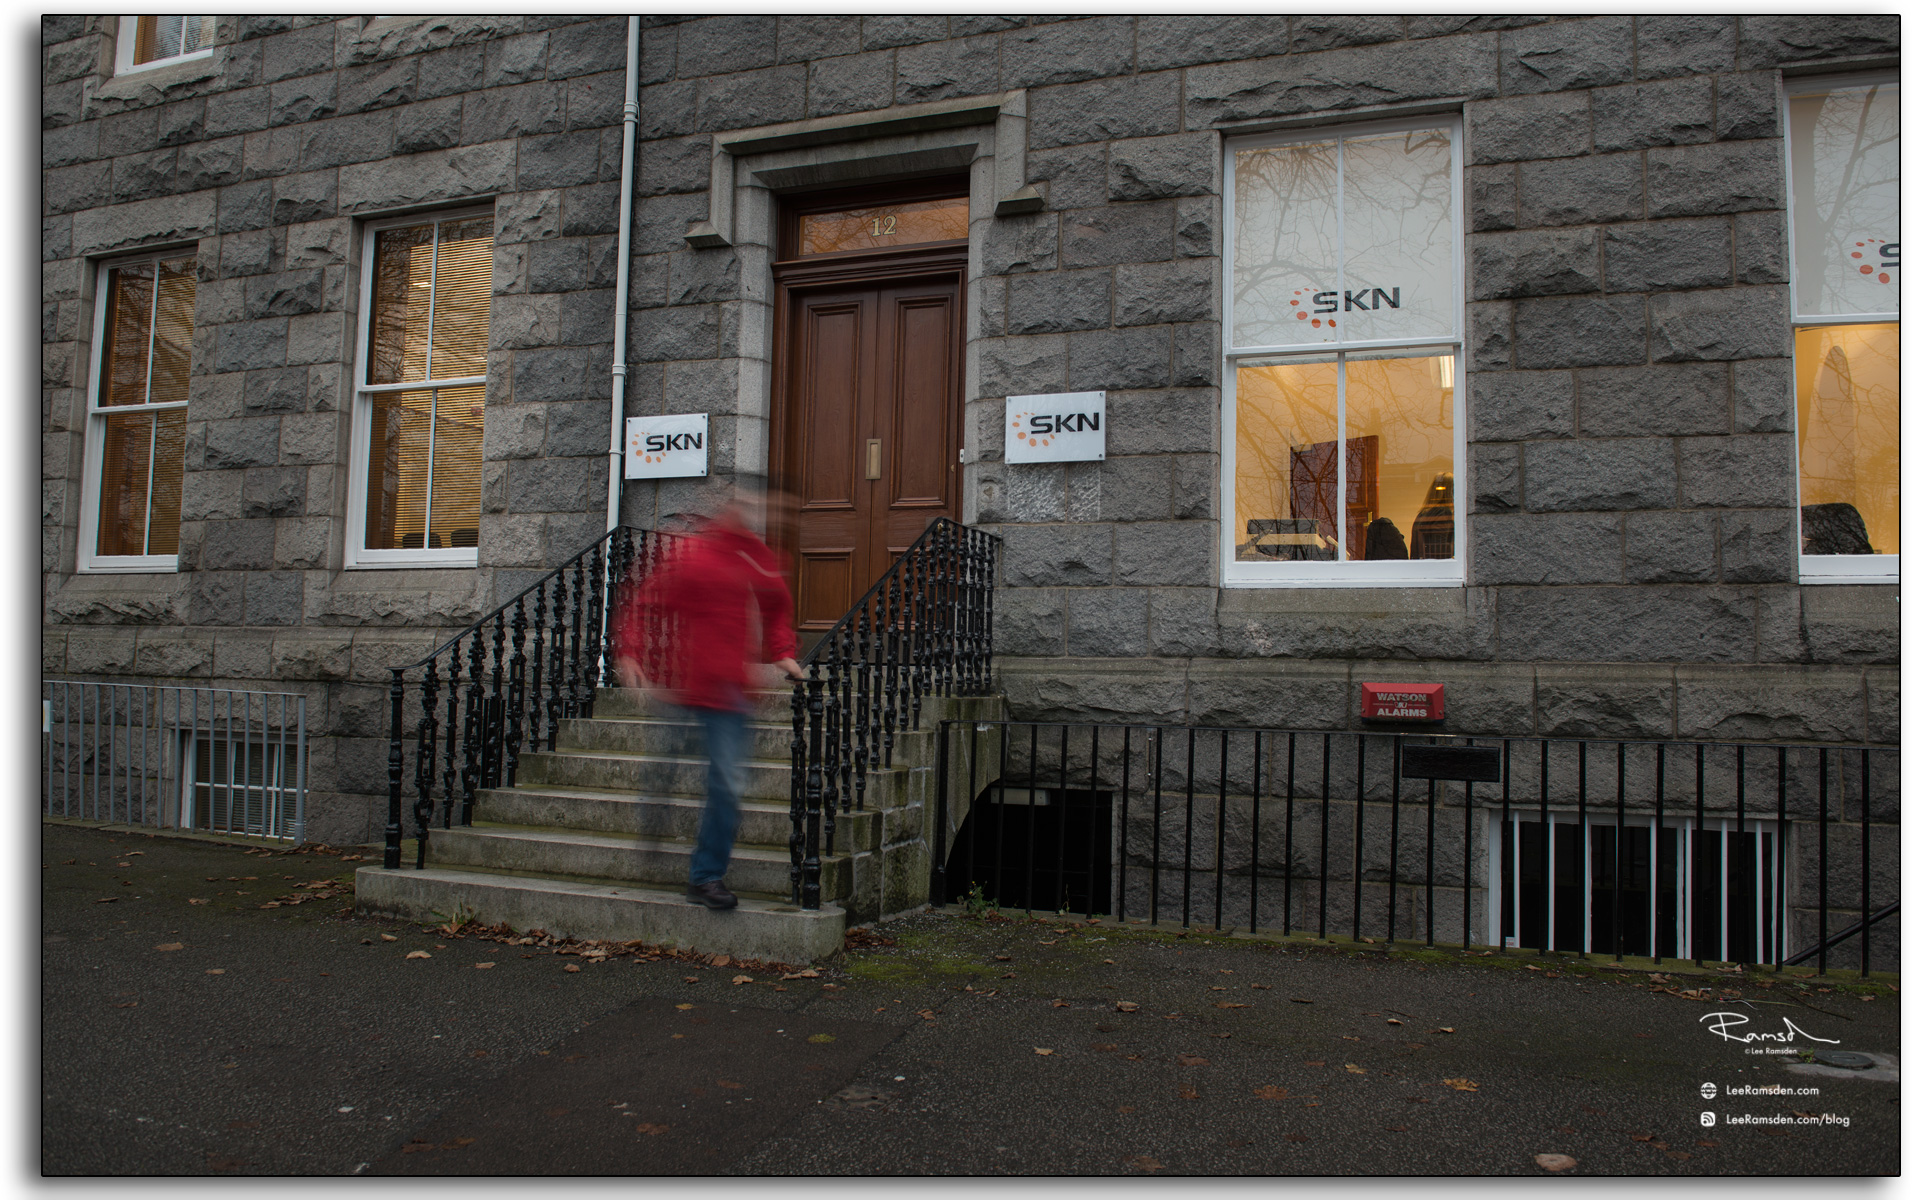
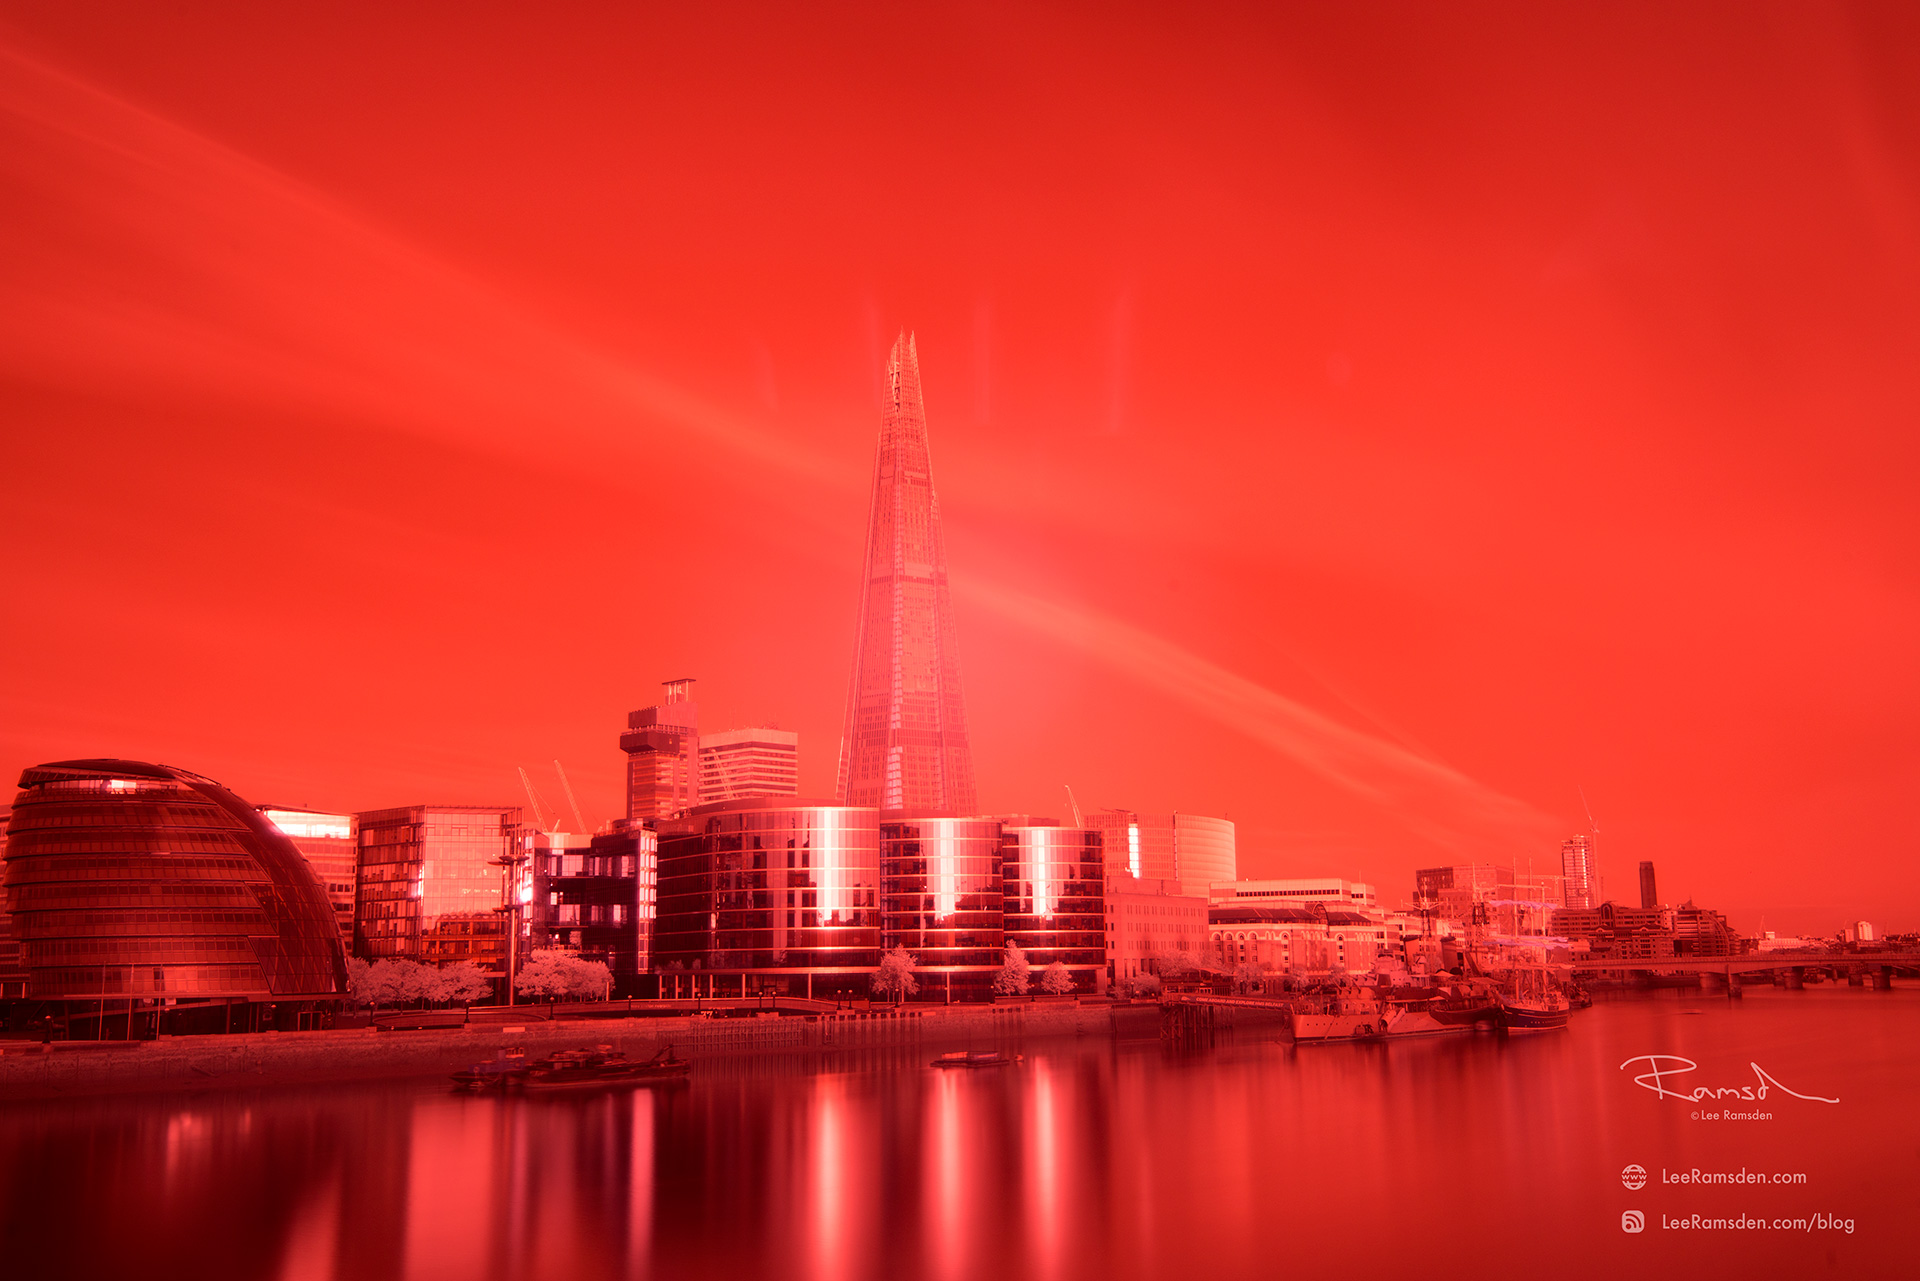
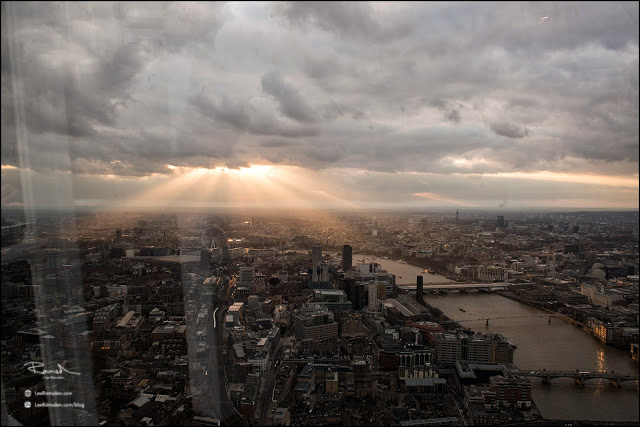
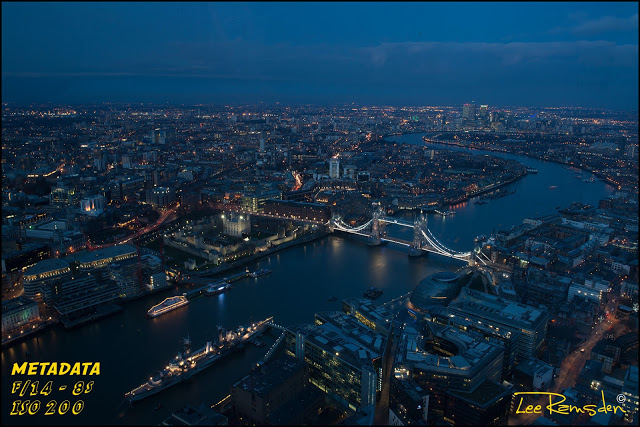
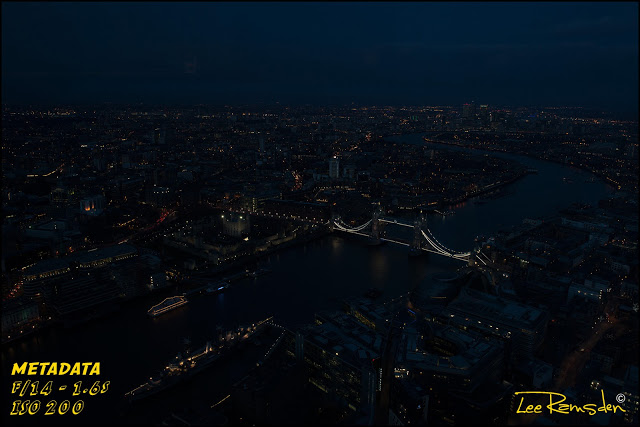
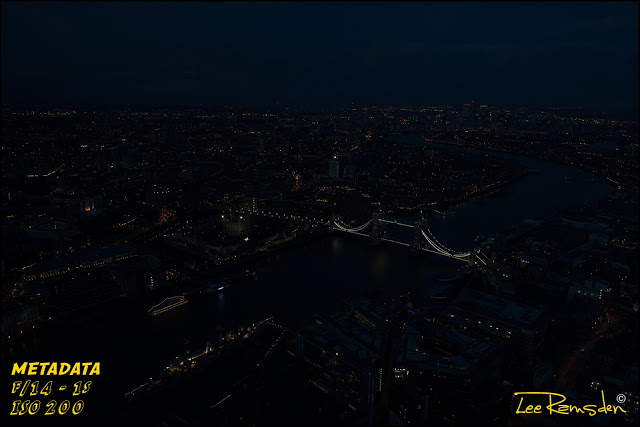
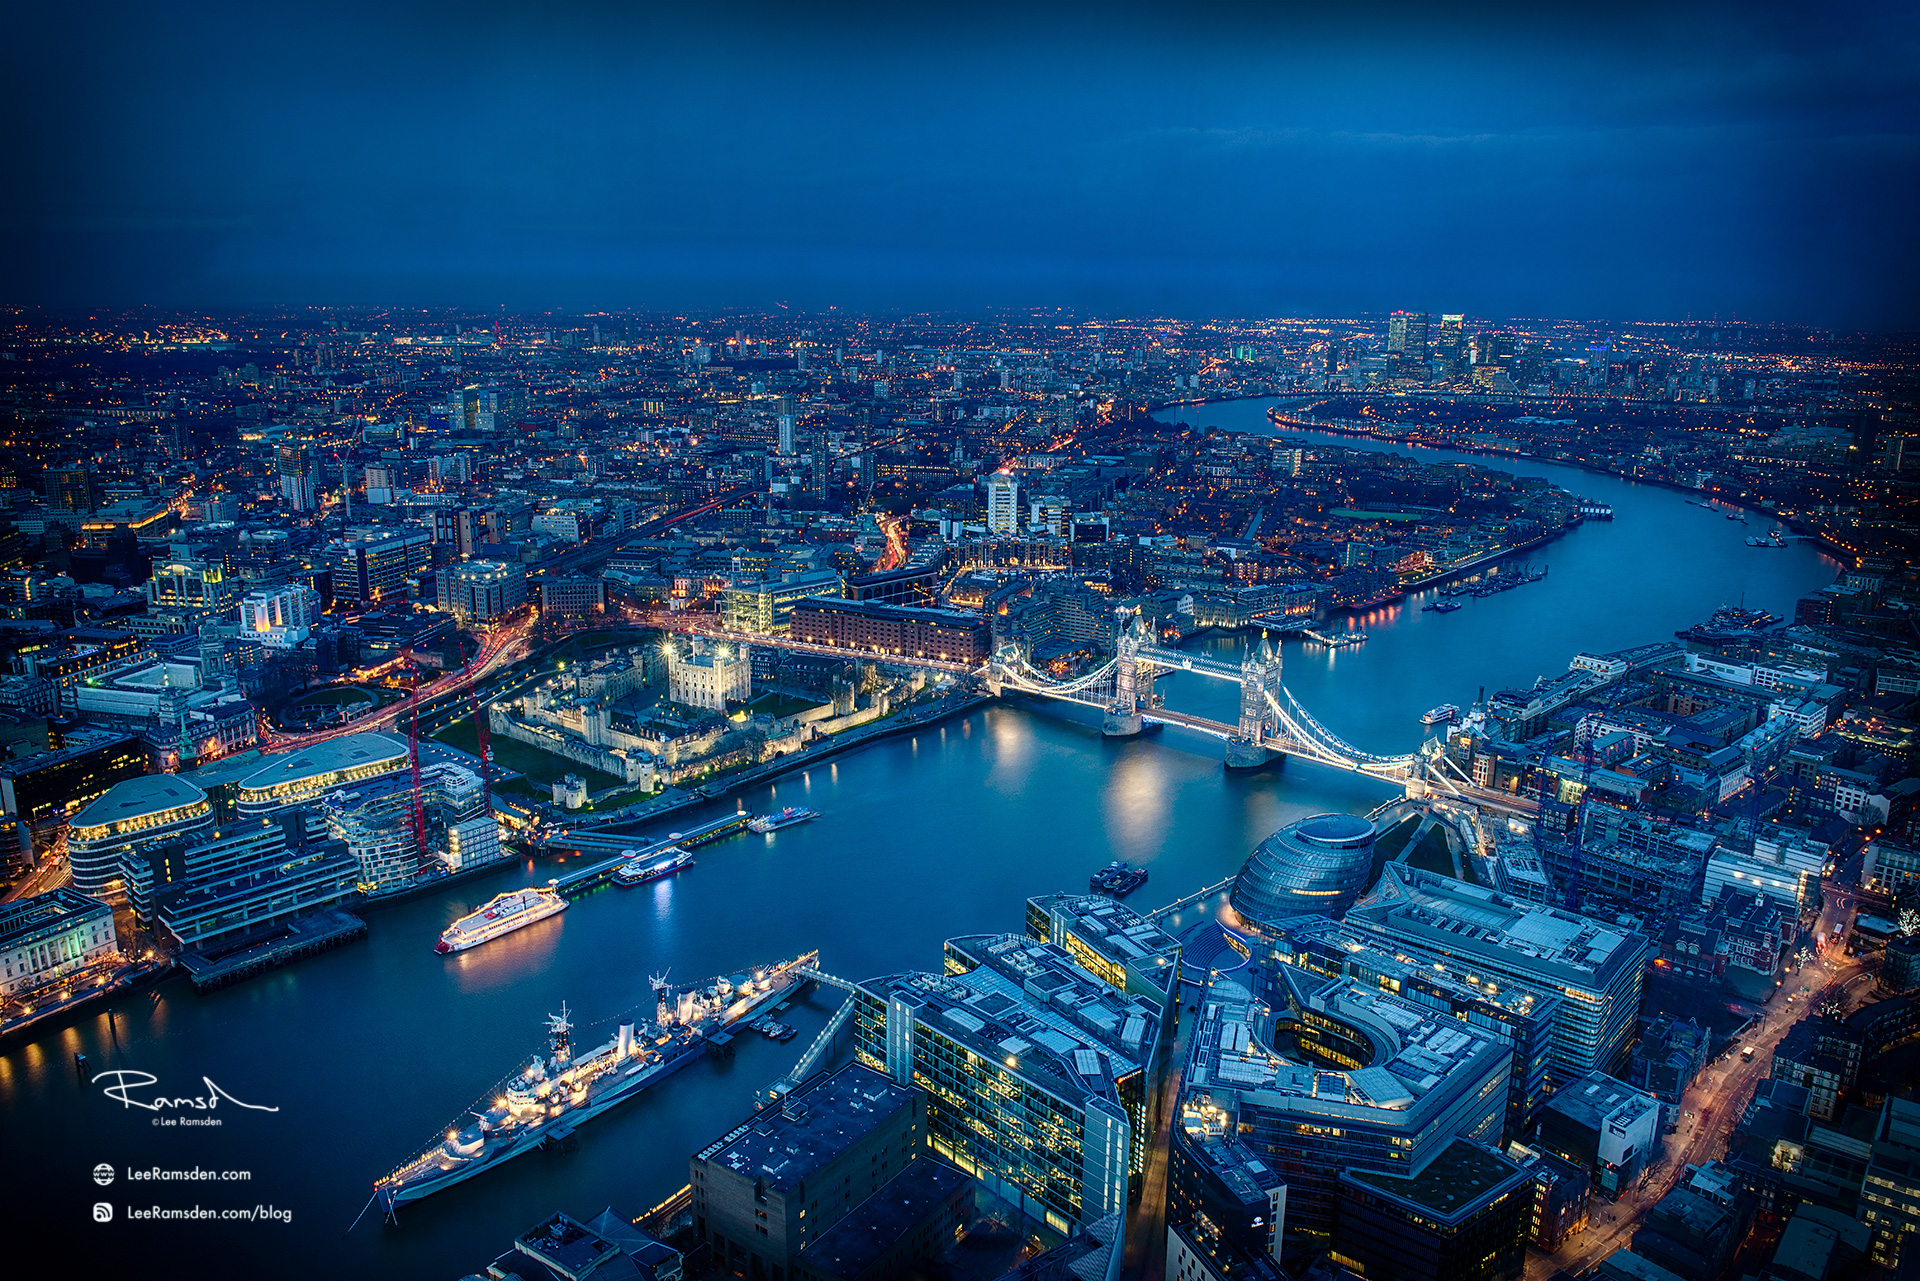
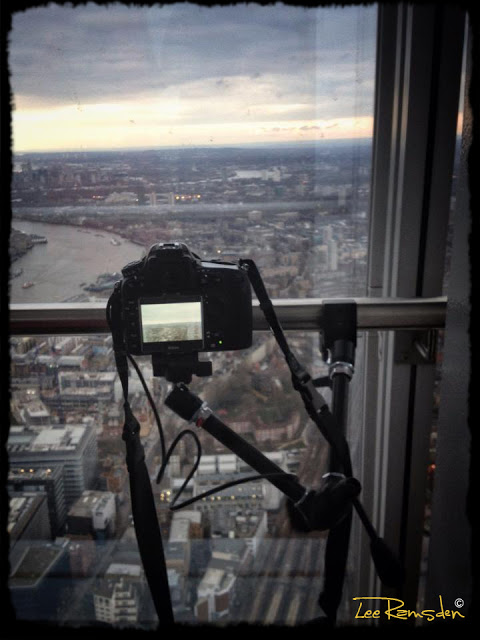
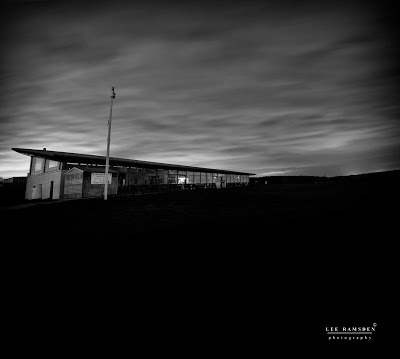
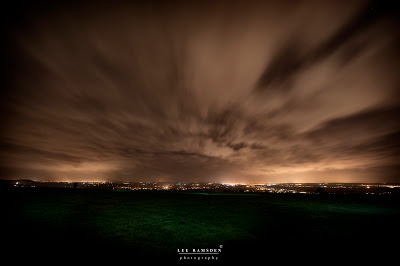
Returning to familiar locations often produces new results. Light, weather, and season all change, meaning a second or third visit can reveal details that weren’t there before.

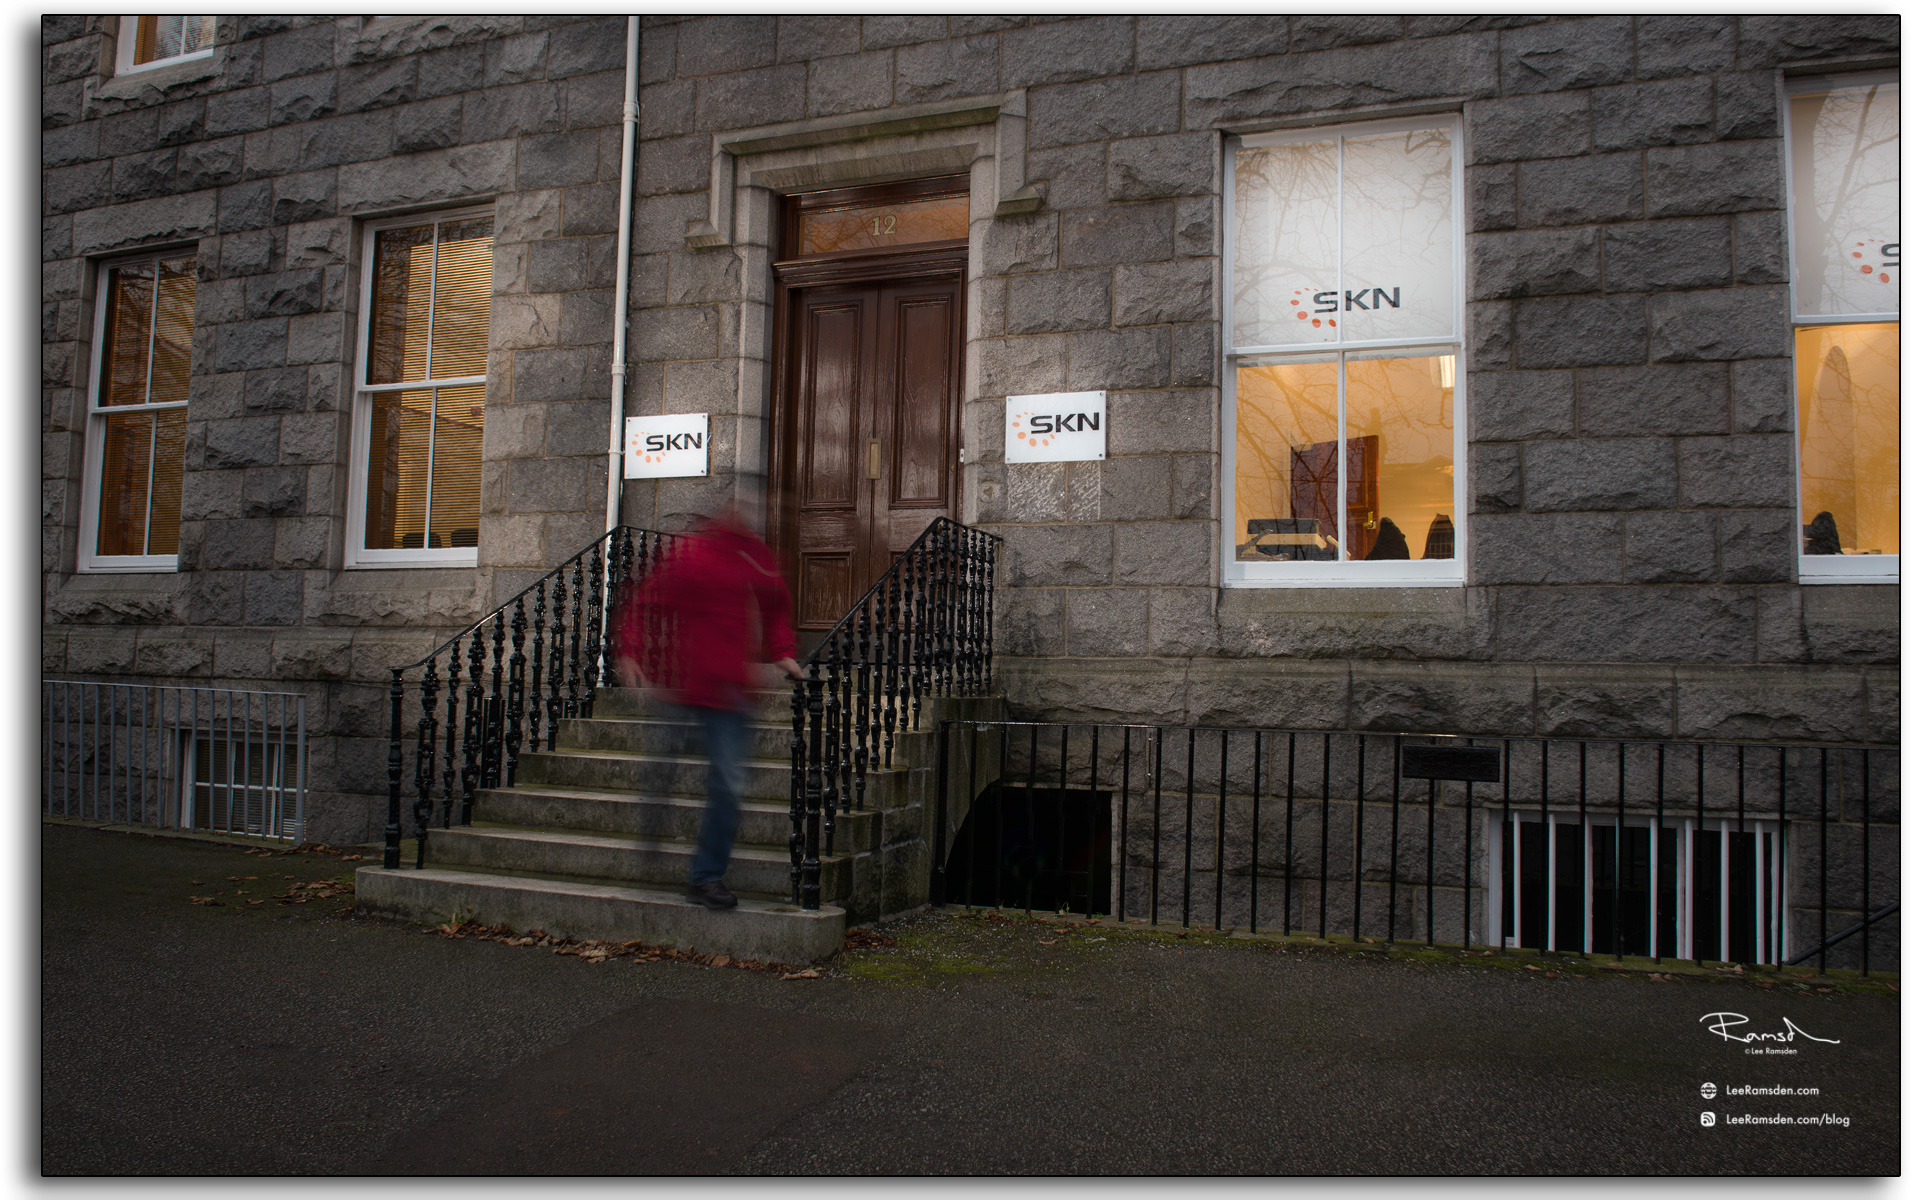
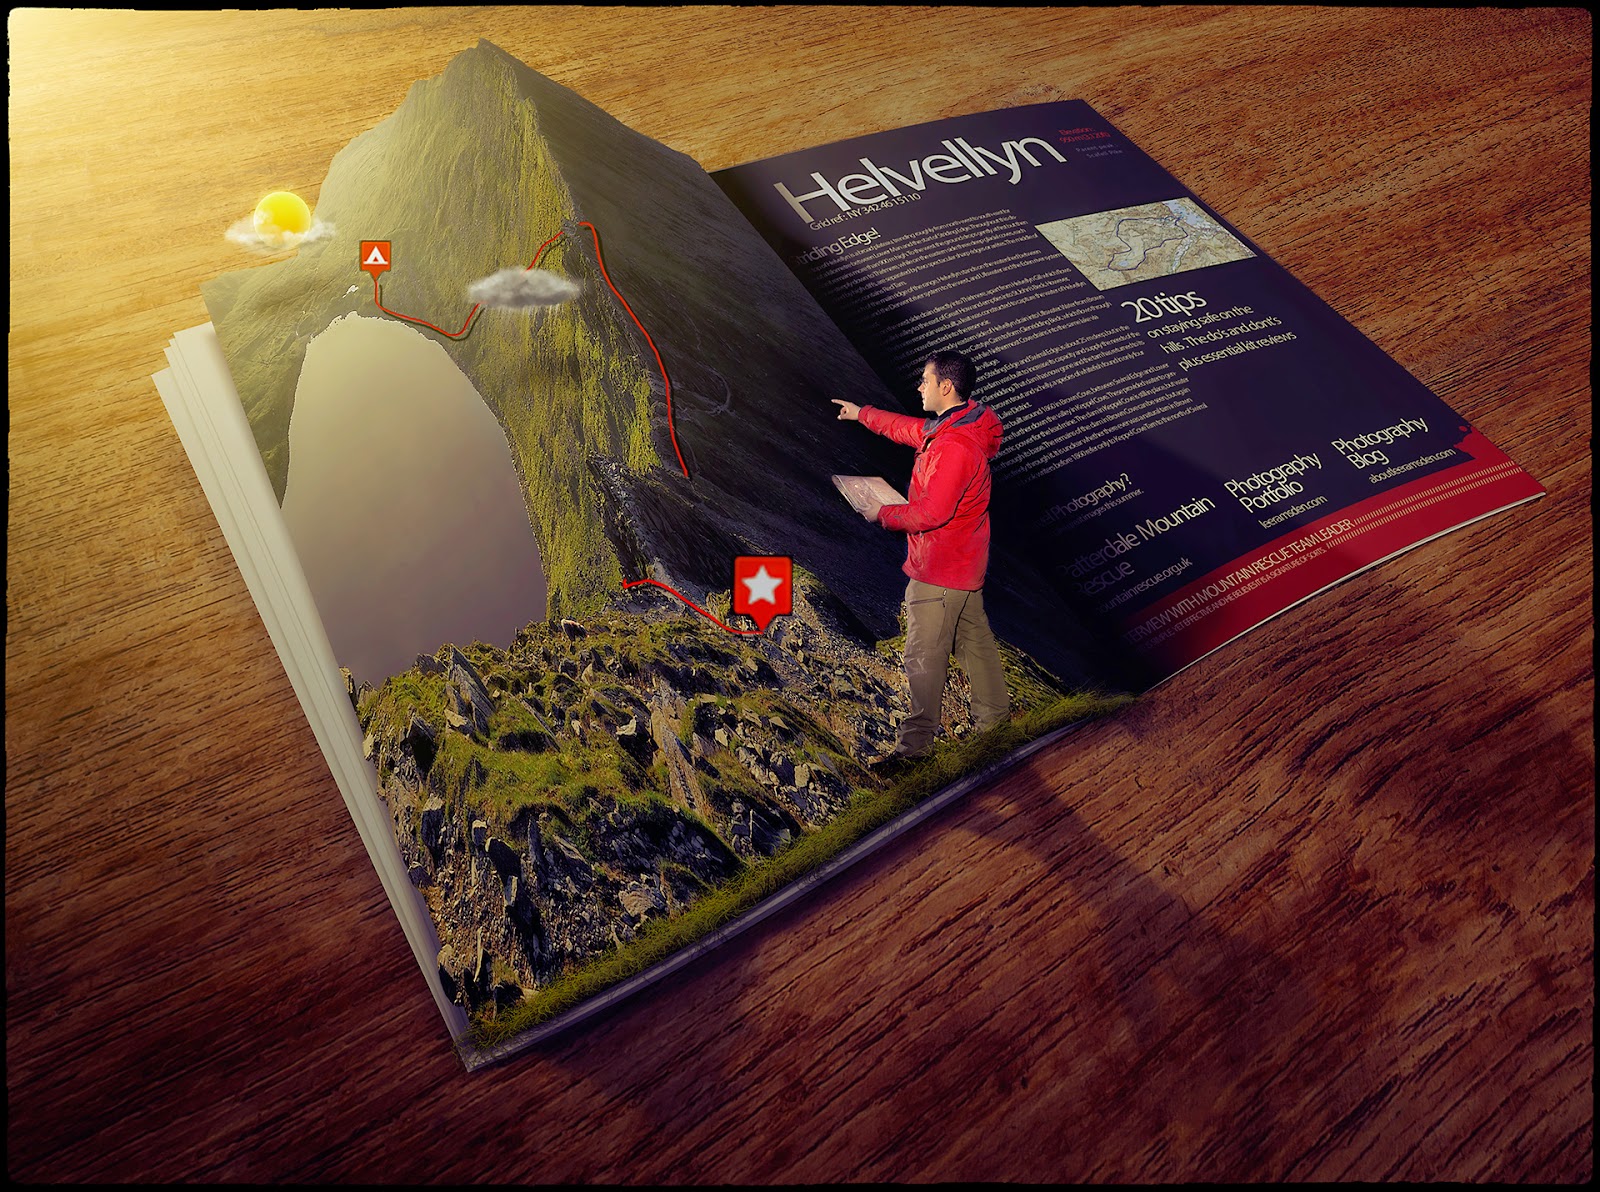
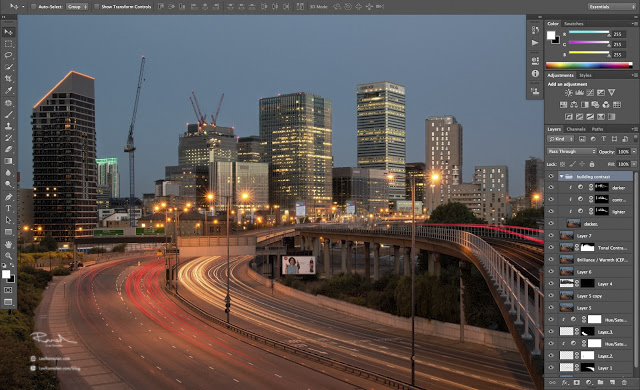
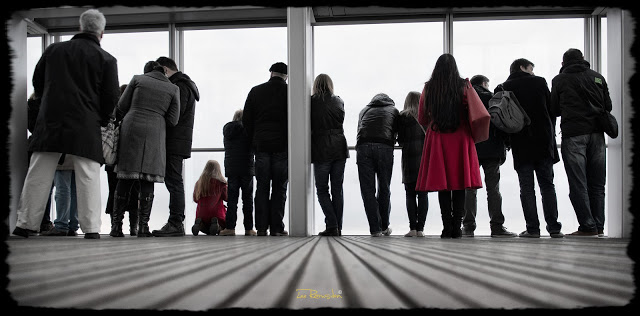
This series shows how repeat visits create variety. The same place shifts character depending on the conditions, offering new compositions and perspectives.

Revisiting sites is part of my regular approach, ensuring subjects are documented in different moods and at different times. It keeps even familiar places fresh.

Lighting painting interiors.

Hello,

Today is like to share a process with you on how I like to light my interior images.
If you’ve ever tried to photograph a building interior, you know how tough it can be to properly expose all parts of the scene. You know how many areas tend to fall into darkness.

When this happens, many photographers will just try to recover the shadows with a brighter exposure or some dodging and burning. Unfortunately, that can lead to muddy results which often display a lack of texture and colour.

One technique that I like to use with modern photographic tools is light painting.

One method would be to literally stop down the aperture, wear an all-black outfit, and wave a light around for a 30-60 second exposure to fill in shadows.

Luckily, things are a bit easier these days. You can use a single Speedlight and see the results instantly.

I personally like to use a speed light and a remote to pull it off, (depending on how much power I’ll need.)

The aim here is to add light in spots that appear to have natural light falling on them – either from landscape lighting or interior lighting. Adding flash or hot light will dramatically clean up the quality of the light, by giving it direction and fall off. Whereas the ambient light may create a muddier appearance due to having no directionality, incoherent colour casts or being mixed with the window or interior lighting.

Light,-Lighter,-photoshop-tutorial,-lesson,-teaching,-software,-education,-adobe,-credited,-master,-Lee-Ramsden.jpg

Above is an image of myself adding a pool of light onto a foreground part of the scene.

A couple of points to remember -

  • The camera has to be on a tripod or secure point and does not move throughout the process.

  • The camera has to be in manual mode to ensure that each frame remains consistent. Focus, exposure, ISO, colour temperature etc.

While using a Speedlight I use pocket wizard triggers, one on the flash, one in the hot shoe on the camera, and another as a trigger in my hand which is able to fire the camera and flash remotely.

Flash-lighting,-Lighter,-photoshop-tutorial,-lesson,-teaching,-software,-education,-adobe,-accredited,-master,-Lee-Ramsden.jpg

Again here are a few more images of me moving around the scene adding more illumination.

(Schoolboy error though, this time I forgot to pack my coloured gels and so had a bit more photoshop work to do after the fact.)

Lighter, photoshop tutorial, lesson, teaching, software, education, adobe, accredited, master, Lee Ramsden.jpg

Once all the images are captured, they are imported into photoshop and aligned.

Using a base layer, (without any flash) I add each illuminated frame on top.

Changing the blend mode to “lighten” and adjusting the opacity, I am able to change the intensity and have greater control of what is lit.

Finally using a layer mask, I paint out everything that is not required to help to keep the image clean.

The final example of this technique in use.

Personally, I think the before image would have been a flat, uninteresting image. By adding light to different parts of the scene I feel brings in greater interest and a more polished professional product for my clients.

If you have any questions or would like to know more about this technique,

please drop me a note.

Kind regards,

Lee

<

Photography tool - image stitching.

11 SKN electrical office front Aberdeen oil and gas industry

Good morning, i hope that you are well. 

Today i'd like to share a quick thought on how you can use image stitching to over come problems.

I appreciate that this is nothing new, but with some fore-thought it can become a powerful tool in your arsenal. 

I was commissioned to shoot an office building. The front had no access due to very limited space and parked cars in my way. Even with the lens at 24mm it was simply impossible to fit the building into frame. So stitching is the only way forward. 

The above image was created with around 25 images. 

Here you can see the images used, 

the camera was mounted on a tripod and i systematically panned left to right making sure to over lap alot. The building took 3 passes.

Always best to have more frames than needed, than have pieces missing down the line. 

With each up date of Photoshop CC i have noticed that it is becoming much better at stitching. 

In the past it would have not been able to do this, and for these cases i use Autopano Giga 3.0 stitching software, but photoshop managed ok with this. 

Now by using a tilt shift lens, and/or a parallax tripod head, your job in post will be so much easier, but as i do not own either of these i had to make do. The majority of my time was spent straightening the stitched image. 

As with all panos, shoot in manual, turn white balance off auto so all the images remain consistent. 

I hope that this helps, and when you are trying to shoot a subject larger than your frame, that you remember this technique. 


Thanks


Lee

Scene lighting technique.

Nikon D800 f7.1 1/8th ISO100

Good morning, 

Id like to share with you a lighting technique that you can use to light a scene, even when working on your own. 

The above image consists of 21 images, all shot and lit by myself, and i am even in the image, to add some interest. 

I will show you, how i take multiple images, all lit with off camera flash, and then the process i take in photoshop.


02 Off camera flash wireless trigger pocket wizard boom illuminating the scene

Here you can see me using an off camera flash head on a pole, with the trigger in my right hand firing off the flash and camera shutter remotely. 

Click on image to enlarge.

The final image is composed of 21 frames. 

The camera was mounted on a tripod. White balance taken off auto, manual settings, and with me using back button focusing on the camera, i know when i press the remote, the camera will not try and focus, making all the images consistent. 

05 Start image quick tip on how to flash light

Quick tip, 

Like when making panos, my first image is a large image of me, so i can find the set easily in bridge. 

Also this is a great way to make sure that the flash and camera shutter both fire correctly. 

As when using pocket wizards as the remote, the flash PW has to be set to a channel higher and some times i forget this, and so it is always a good idea to test everything before getting started and walking far into the scene. 

04 adobe bridge using photoshop tools loading layers

Using bridge i select all the images that i want to use, and from here you can easily load them into photoshop as a single document with 21 layers. 

06 using lighten blend mode in photoshop CC

Now turn off all layers, and starting from the bottom layer i work my way up through the stack, turning on, one layer at a time, changing the blend mode to Lighten. 

07 using a mask in photoshop CC

With the blend mode on lighten, the flash light will show. 

Also you will see indicated in this image the hot spot of the flash is in the image. This is easy to mask out. Also i remain in the image by some strange artefacts, just simply mask these out. 

After some cleaning and tweaking here is the before and after image.

The before being unlit. 

It is a subtle difference, but one i find takes your images to that next level. 

If you have any questions, feel free to comment and i hope to help. 


Thanks

Lee

Infrared lens hotspot.

Good morning. 

If you have purchased the infrared filter as i previously mentioned in a blog post couple of weeks ago, and have been shooting with it, you will have noticed the strange colouring that you have received. 

The bright red file is normal, Prior to shooting setting a custom white balance is recommended. A lot of advice i have read is setting it again green grass or foliage. For the below image being a city scape there wasn't much grass around, so i chose to shoot in RAW and play with the white balance later in post. 

One thing i have learn is the visible hot spot in the centre of the image. I shot this using Nikons 24-70mm f2.8 and lens hot spots are a most common problem encountered when shooting infrared light. They usually manifest in the form of a bright circle, sometimes in the shape of aperture leaves directly in the center of the image. The problem is exaggerated as you stop down (increase f stop number), with the spot becoming more prominent and defined. 

Hot spots can be caused for a variety of reasons, the most common of which is the coating on the inside of the lens barrel being reflective in IR light. Another frequent reason is light interaction between the coatings of the lens elements. A less common reason is light interaction between the lens elements and the imaging sensor(usually the micro-lenses) in the camera. In this case using the lens on one camera model may have no hot spot issues and on another model there could be prominent hot spots.

Unfortunately, if your lens has this issue the only solution is to simply use a different lens altogether. Fortunately the majority of lenses don’t have this problem or the problem is very minor and normally not visible in images.

Once i find a suitable lens and am happy with the results ill report back. 

If you have any suggestions to use on a Nikon body id like to hear your views. Feel free to use the contact page.

I hope that you enjoy these images. This is a new technique and something i am enjoying playing with. 


Thanks

Composite with a snow machine in the garden.

lee ramsden, snow, cold, photoshop, composite, ski, snow board, blizzard, professional, advertising, tree, sun, garden, snow machine, fake, frozen

   Nikon D800 f10 1/125th ISO 100

Good morning, hope that you had a good weekend.

This was the set up, pretty straight forward really. Two light sources, both camera left. The elinchrom ranger in a large octa positioned in front of myself, so the light was feathered and soft.

with a bare elinchrom quadra behind back lighting the snow.

With a snow machine you can see on the left of the image.

The image was shot with grey paper background intentionally to aid in the photoshop work afterwards.

Image set up and execution around 45 mins, and all photoshop work an hour and half.

Some times these images can take a lot more, but having the final goal in your mind and through experience you can achieve that goal much quicker and have a nicer final product.

  Nikon D800 f10 1/125th ISO 100

Volvo V50 - play with a car rig.

Volvo V50 Car Photography Rig mounting Hague Manfrotto poles

Nikon D800 f10 1/30th ISO800 (multiple flash exposure)

I know that we are all guilty of this, i purchased some camera kit, and it has just sat there for months unused... (this is just me? - yeah right)

And so it was time to have a play. I purchased some car rig - mounting equipment. For making the movement shots you see in magazines.

Volvo V50 Car Photography Rig mounting Hague Manfrotto

Nikon D800 f5 1/13th ISO 800

Here is a final shot, with using a slower shutter speed to give the sense of movement, i would of been blurred in the shot, and so inside the car is a strobe light, set to rear curtain sync to give a pop of light to freeze me, and make me sharper. 

I triggered the camera and flash using pocket wizard 3's. I find these work a treat. I have one in my hand, and when i press the button the camera fires, and the flash. 

Volvo V50 Car, Photography Rig mounting Hague Manfrotto poles motion

Nikon D800 f3.2 1/15th ISO 400

A Shot of the mounting system attached to the bonnet. 

Volvo V50 Car Photography Rig mounting Hague Manfrotto poles motion car photography

Nikon D800 f5 1/13th ISO800

Added another pole to extend the reach of the camera. I felt the camera was too heavy for this though, as the poles were worryingly bending, and so only a very slow speed was used when driving.

Here is a short Video of the top image, being taken and processed. 

Thanks

Lee

A subtle technique, but goes a long way..

Hello, here is a little tip which i have recently picked up and thought id share as it makes such a lovely difference.

When working on images of buildings here is how i now add contrast.

Rather then use contrast adjustment layer, i created two levels layers, one darker and one lighter - both with black layer masks.

Now take your time, and paint in, where the face of a building is lighter, make it lighter and the dark side darker. It takes a little time, but certainly gives your image much more depth and a 3D feel to them.

Tutorial Photoshop dodge burning layer

 This image has the effect turned off. 

The extra layer you can see is a contrast adjustment layer to the lighter layer.

Tutorial Photoshop how to make your image look more professional

Here is the final image with the contrast technique added. 

Subtle but certainly makes a lot of difference to the image.

canary wharf London Photography Train line Long Exposure light trails


Polarising Filter.

 Hi,

Today is just a quick post, but wanted to try and show the importance of using a circular polarising filter. Here you can see from a shot of London from the View at the Shard, i had to shoot through a window.

With out a polarising filter

This image you can see the reflections in the glass from inside of the building. 

With a polarising filter fitted

By using a polarising filter, it is not perfect, but seriously cuts out the reflections and so saves you much more time having to edit less.

Like always if you have any questions please feel free to post in the comments. 

Hope that you enjoy the rest of your Sunday... 


London view at the Shard gallery London Uk Tower Bridge HMS Belfast

The above image would not have been able to been created so clean without a polarising filter. 


Please feel free to share this post on your social media, giving credit to the photographer Lee Ramsden www.leeramsden.com


Thanks

The view from the Shard London HDR image break down.

Hi, hope your keeping well and have had a good weekend. 

Here are some images from the previous London landscape image that i have posted. 

I wanted to show the images used to create the final image. 

I clamped the camera down to the handrail using the Manfrotto Magic arm and using a cable release i rattled a few bracketed frames. 

I have included the metadata on each image, but other then converting to jpg, they are straight from the camera and in the order the camera took them and i added to Nik softwares HDR efex pro 2.

London Shard The View HDR image Photography tutorial Nikon D800 award winning

Here is the first base image. In face i quite like this exposure but i personally prefer having the extra range to play with. 

And finally this is the out put from the software. As you can see it has little punch, no halos. or even much contrast going on. But the key is to get a nice base to start with, and then bring this into photoshop and make it your own.

I have tried many different HDR software on the market and not one will you be able to click process- done.

But i do think that this is a good thing, no 2 images will ever be processed the same and so this way it makes you take your time and make something unique and more realistic.

london View from the Shard HMS Belfast river Thames Tower Bridge

Here is the final image. 

Thanks.

Lee

The View at The Shard London photography tips.

Photographing The Shard Viewing Gallery, London

The Shard is the tallest building in the United Kingdom, standing 309 metres above London Bridge at its tip. Designed by Renzo Piano and completed in 2012, it's become one of the most recognisable additions to the London skyline in a generation. The viewing gallery sits across floors 68 to 72, giving unobstructed 360-degree views across the city.

I visited specifically to shoot the transition from sunset to dark — the window when the city starts to light up while the sky still holds colour. Getting that timing right requires some planning. The booking system lets you choose your time slot, so I researched the sunset time in advance and booked accordingly. The weather cooperated, which after a prolonged cold spell felt like a result in itself....

mobile, iphone, Lee, Ramsden, London, The View From The Shad, Landscape, Photography, Lancashire, HDR

Practical Photography Tips for the Shard Viewing Gallery

A few things that made a genuine difference on this visit:

Tripods are banned, as they are at most tourist viewing platforms. The workaround I used was a Manfrotto magic arm and super clamp, which attaches to the barrier rail and gives a completely stable platform for long exposures. Security observed me using it and raised no objection — it's discreet enough not to interfere with other visitors and doesn't technically break the no-tripod rule.

london View from the Shard HMS Belfast river Thames Tower Bridge

Shooting through glass always risks reflections. A circular polarising filter cuts through most of this.

I was using a Hoya 52mm Pro-1 Digital CPL, which handled the glass cleanly and brought out the contrast in the city lights below. Without it, the reflections from the interior lighting would have competed with the view on every shot.

The Nikon D700 was the body used here — one of the frames in this set was actually pulled from a timelapse sequence. I had changed the ISO to 3200 mid-session and forgotten to reset it, but the D700 handles high ISO well enough that the image was still usable. A lesson in checking your settings between sequences.

Manfrotto G clamp

The Building Itself

From street level and from a distance, the Shard reads as a glass spike — almost impossibly thin against the sky. From inside the viewing gallery you get a different perspective on how it sits within London, with the Thames directly below and the city grid spreading out in every direction. Canary Wharf, St Paul's, the Tate Modern, and Tower Bridge are all visible simultaneously, which gives you a sense of the scale of the city that's hard to get anywhere else.

For more of my London and places photography, visit the Places gallery.

Reflections.

reflection girl working on till serving customers

Hi all,

Here is a quick post to show you some of my thinking.

The above image i really like, it was taken in the cafe in the Tate Modern Museum London.

I am a big fan of reflections and symmetry in images. I really like how you view the image and if it wasn't for the chairs in the foreground and the table of guys in the background you would probably think that i Photoshopped this image. But it was genuinely taken.

reflection before london tate museum shop cafe

Here you can see my thinking behind the first image.

I was sat at the table drinking my coffee and was viewing the scene in front of me.

I found the guy working was distracting and "in the way" personally,

plus my camera bag was in shot - school boy error.

So moving the bag off the chair in the foreground and waiting for the scene to make itself. I was very happy with the final image.

Not always will things work out for you but it is great and very enjoyable to see something in front of you, and you have to wait for the parts to all come together.

Police Composite image.

Police Composite final image

Recently I have had a play with a large composite.

I have for some time now wanted to have a play trying to blend multiple images into one image.

Now my attempt is not pixel perfect, by any stretch of the imagination,

but it was certainly a great learning curve. And something very enjoyable.

I have previously posted in my blog, it’s a great way to keep up to date with the tools of Photoshop

and to try and keep your work flow fast.

It is amazing how quickly you can get skill fade, and end up doing things the long way round.

Your selections, dodging, burning will come on leaps and bounds the more practice you do.

I have included some screen grabs to show where I started and what I have

added.

A starting place of a background from iStock photo.

Straightened the lines and cloned in more of a foreground.

Started adding some elements to the image, i didn't like some in the end and so didn't make it to the final image.

Happy with the placements of the elements. Added a texture over the ground. Just need to render the image with shadings, colouring and few little bits which certainly take the most amount of time in the whole process.

I have enlarged some of the small details so you can see.

I must of been in a real dark mood when i designed this image ;0)

Glyn Dewis Workshop

Glyn Dewis photoshop training course Dave Clayton

Well the other week i attended my first studio workshop ran by a Glyn Dewis. (UK's version of the photoshop guys) and i was highly impressed.

It was a half day workshop titled

"a workshop full of character"

and the aim is to give you the tools needed to try and create a fun image like the one above. Glyn sets up the lighting but gives you pretty much a free Raine to move the model where you want to in the light, and to pose him on how you see fit.

Once you are happy and have the image that you are after, you all then go through some photoshop techniques on how to create something different. Glyn shows you how to improve an image up to a nice respectable standard... and then the fun starts and you are taught how to push things and come up with great concepts and the fun really begins...

The day is broken up as follows-

  • RAW Conversions

  • Cleaning up your images (Dust spots etc…)

  • Removing Blemishes

  • Eyes (Brightening, add contrast, colour and sharpening)

  • Creating Texture/Adding Details

  • Dodging and Burning

  • Cut Outs (Getting the most out of Photoshop CS5 Refine Edge Command + Extracting using Channels for those using earlier versions of Photoshop)

  • Adding in the Background

  • Creating ‘The Look’

  • Special Effects and lots more

Glyn Dewis photoshop composite training photo of Dave Clayton NAPP
Glyn Dewis training KelbyOne Media
Glyn Dewis training Dave Clayton Office background NAPP

My finished image, I can not take the credit for the lighting on Dave Clayton, who was a fantastic model. Or the style he was dressed. But i did really enjoy finding the stock images and coming up with a theme to produce the finished result.

Glyn Dewis Group course attendees photoshop composite course

Night Photography.

Friday evening, myself and Phil Richardson of

YellowMelen Studio

 headed out upto Dunstable Downs for a play with some night photography.

What good fun. Setting up a camera for 2 minute + exposures and running around with torches and setting off speed lights and awaiting to see the result was something very new and interesting. 

Dunstable downs long exposure night photography national trust shop

This image is hard to believe that it was taken in total darkness. 

Dunstable downs national trust shop at night long exposure
Dunstable downs long exposure night photography

4 minute Exposure. 

Dunstable downs long exposure night photography clouds
Dunstable downs national trust building at night with name written with a torch
Dunstable downs long exposure night photo car head lights

Attend 1st Photography course on outdoor flash lighting.

I have recently been hooking up with Phil over at

Melen Studios

Phil was running an outdoor flash lighting course and so had to attend.

I have been a fan of flash photography, but just lack the knowledge how to use it properly. So a course was right up my street to push and progress my photography.

I would strongly recommend

courses

ran by these guys-

a day outside with a load of cool down to earth people being creative sounds more like fun to me rather then a course.

Here are a few images from the day..

Phil Richardson Yellowmelen photography training a proffesional creative
Phil Richardson Yellowmelen photography training happy guy
Phil Richardson Yellowmelen photography training male model
Phil Richardson Yellowmelen photography training teaching flash lighting