Composite

Helvellyn Composite.

Morning, I thought id share a composite image that i created recently for a bit of fun.

I am still yet to climb Striding edge, but will complete this in the summer.

As i have mentioned in previous posts, i do these type of images as i really enjoy thinking of a concept and then trying to execute the idea, and if nothing else it certainly hones my photoshop skills making me quicker and understand all the tools more in depth.

Thanks

Lee

Composite with a snow machine in the garden.

lee ramsden, snow, cold, photoshop, composite, ski, snow board, blizzard, professional, advertising, tree, sun, garden, snow machine, fake, frozen

   Nikon D800 f10 1/125th ISO 100

Good morning, hope that you had a good weekend.

The above is an image that i wanted to play with for a little while now, i have been commissioned to take a portrait of someone advertising a snow jacket.

Where possible i like to do a run of the shoot before the client, to iron out anything the comes up, plus gives their design department a good idea of the finished product and we can tweak it to their taste and needs.

lee ramsden, behind the scene off camera lighting elinchrom rotalux deep octa

  Nikon D800 f10 1/125th ISO100

This was the set up, pretty straight forward really. Two light sources, both camera left. The elinchrom ranger in a large octa positioned in front of myself, so the light was feathered and soft.

with a bare elinchrom quadra behind back lighting the snow.

With a snow machine you can see on the left of the image.

The image was shot with grey paper background intentionally to aid in the photoshop work afterwards.

Image set up and execution around 45 mins, and all photoshop work an hour and half.

Some times these images can take a lot more, but having the final goal in your mind and through experience you can achieve that goal much quicker and have a nicer final product.

  Nikon D800 f10 1/125th ISO 100

Adding Leaves to an image...

Carcassonne France lover on romantic walk

Happy New Year!

I wanted to show a subtle part of the above image.

I felt when looking at this scene, the background just behind Myself and the Mrs, was to similar to our clothing and wanted to break it up abit.

With large piles of fallen leaves on the ground,  it would be good fun to add some of these.

Photoshop tutorial how to add leaves to your image and make them look more professional

Here is the in camera image,

Lots of distractions, sign posts and rubbish on the ground.

Where our dark tops are, they blend in with the background around us.

Carcassonne adding composite material to your images

With the camera set on a trip pod, i got the Mrs to throw some leaves in the air.

Carcassonne leaves throw adding texture to your photos

Another shot of some leaves.

As the camera is on a tripod, it makes editing much easier.

As im now using the Nikon D800 camera, the file sizes are crazy large, and so instead of importing every image as layers into the one file, I simply made selections of just the leaves that i wanted and moved them onto the final image.

As always, if you have any comments or questions, id love to hear from you.

Thanks

Lee

The Edit of the Tash image.

Bearded Lee Ramsden

Following this image, i thought i would post on how i got to this final image from the out of camera shot below. I have included many screen grabs to try and explain how i got to the finished image. 

Bearded Lee Ramsden photoshop tutorial layers

Here is the original image, taken in my front room. You can see the TV on the left, but knowing that i wanted to do a cut out, i placed a piece of white card behind me to make life easier later on in photoshop. 

To make the cut out, i make a rough selection with the quick selection tool.

Then click onto the refine edge button.

Here photoshop opens up new dialogue box, I use the brush tool to paint around the edge, and photoshop does an amazing job of making a tighter selection. It works on contrast, and hence why i added the white card at the start so my hair and skin would stand out better.

Once you are happy with your selection i output to a new layer with a layer mask.

I added a blank layer, using the gradation tool made a spot light effect background.

Here i did some dodge and burning to the clothing and skin.

If you compare this image to the one above, the lighting on the neck is harsh and unpleasing to the eye.

with all these little tweaks they are only very subtle but they add up and make the final image nicer to the eye.

I wanted to add some texture so my hair and shirt. 

Looks good doesnt it..... Nope of course not, but when adding a filter to an image you need to be selective with it. 

Here i added a layer mask and painted back where i wanted the texture to be.

Now to work on the background, I thought the background is flat not working, and so i am adding a texture. I quite like this pattern.

By playing with the Opacity and Blend modes you can create very different looks.

This back ground is the same as the image about but by dropping the Opacity to 40% it is much more subtle.

The blend mode is now set to soft light. I checked them all out, but this one was the nicest.

The background i felt was too smooth and so needed to be roughed up a little.

I added this texture of a stone wall to the image.

Again play with the Opacity and blend modes, to make slight subtle changes.

The colour i felt needed to be spiced up a tad.

I added a saturation adjustment layer. But by clipping this layer to the one below it then only effects the background.

 Here is the finished image.

I appreciate that i move pretty fast from layer to layer.

If you are getting lost or confused by any stage please feel free to comment or contact me and i will explain a stage in greater detail.

Thanks. 

An Edit from Glyn Dewis course.

Glyn Dewis Steven Lewington Dave Clayton course Comic book images NAPP UK pro WWE wrestler

With having a couple of images, one of Dave above and Steve below taken in a studio, i wanted to play and create something a bit different. The lighting and images of the guys were taken on a Glyn Dewis course, but these edits are made up of my own ideas and my own stock images. 

Attending a photoshop based course, you learn techniques, and tips on how to improve.

I find that it also inspires me to push the creativity and want to make up my own images.

Thanks 


Lee

Glyn Dewis Photoshop Course.

I recently attended a second course ran by

Glyn Dewis

and was thoroughly impressed.

Here are some images that were taken and edited on the day.

Glyn Dewis photo composite training image of Dave Clayton NAPP UK

Glyn teaches you how to take an image in the studio like the above, and then how to edit to the one below 

Glyn Dewis finished image photoshop world kelby one trainer

I have attended a couple of these courses now and throughly enjoy them, No matter what level of "photoshopper" you are, you will learn heaps from the new Kelbyone Photoshop world tutor.

Glyn's style of teaching is fantastic, he has loads of energy and you can feel the passion of what he teaches he clearly loves. I would strongly reccomend a course of his.

At the end of the course Glyn doesnt just shut the door behind you... The majority of the class heads over to the local curry house which is a great way to chill out and chat with like minded people.

The model above is the UK NAPP founder Dave Clayton, who is a great guy. And as you can see likes to dress up and have a laugh.

Cheers Guys, once again another fantastic course, learnt loads, met some great people and had a good crack in the process which is what its all about.

Blend Modes to add textures.

Police Composite photoshop tutorial

Hi,

In this post i will try and explain how i added the grassy texture that you see in the foreground of the above image.

Police Composite photoshop layers

Here is the image part finished. I liked the layout of the positioned pieces but i felt that the ground needed some more texture to it.  With there being some patches of grass to the left and right of the concrete ground. I thought that it would be fun to see if a grass texture would look cool, plus give it a distressed look.

I found this grass image on Deviant Art. Selecting the move tool, drag it onto your composite workspace.

There you go job done.....

Nahhhh, now we need to make it fit into our image. I firstly tried various blend modes to see which best made it fit.

The blend mode Overlay looks super cool for this texture. I liked the way sone of the underneath concrete layer was showing through. 

Adding a layer mask filled with black, with using a white brush you can now "paint" in your new texture. 

If you feel that it is a little strong you can also play with Opacity slider until you find it working for you. 

If you have any questions relating to this post or regarding some photoshop techniques, please feel free to message me and i will try and help. 

Thanks.

Blend modes to merge images.

Police Composite photoshop blend modes

Hi Guys in this post i will try and explain on how you can blend images together using blend modes.

I will use the flock of birds as the example from the image above and bellow images.

Police Composite photoshop layers

Firstly i need to find an image of a flock of birds. This one i think came from Deviant Art.

I am over time taking more and more of my own images that i will be able to use in future projects.

When sourcing images try and find ones where the background is uncluttered. It will make life so much easier in the long run.

I used the Lasso tool to make a rough selection of the birds that i want to use.

By pressing CMD/J (mac users) OPT/J (PC users) it will put your selection on to its own layer.

Select the move tool, and drag this new layer onto your composite work image.

With the birds now in your composite workspace its time to try and make them fit.

I noticed with the birds layer that they were shot of a nice flat grey background. And so i thought i would try and blend them in before making some crazy selections.

TIP

:-  A quick way to go through your blend modes is to make sure you are using the move tool. Then by holding down the shift key and pressing the + or - keys you can toggle through the blend modes quickly and easily viewing which one best suites your layer.

As you can see the current blend mode is set to normal and so nothing is happening.

Here we have changed the layer to SoftLight, its not right but we are getting there...

By using the Blend mode of Pinlight you can see how well the layer blends away the grey leaving just the birds showing. 

I was lucky and this one blended nearly flawlessly, but sometimes you will find a blend mode that is close but just doesn't quite work, in these circumstances i would clip a curves adjustment to the layer being blended, and by adjusting the highlights or blacks it will then fit into your scene more better. 

Thanks.

If you have any questions or would like more information on any of this please feel free to contact me. 

Police Composite image.

Police Composite final image

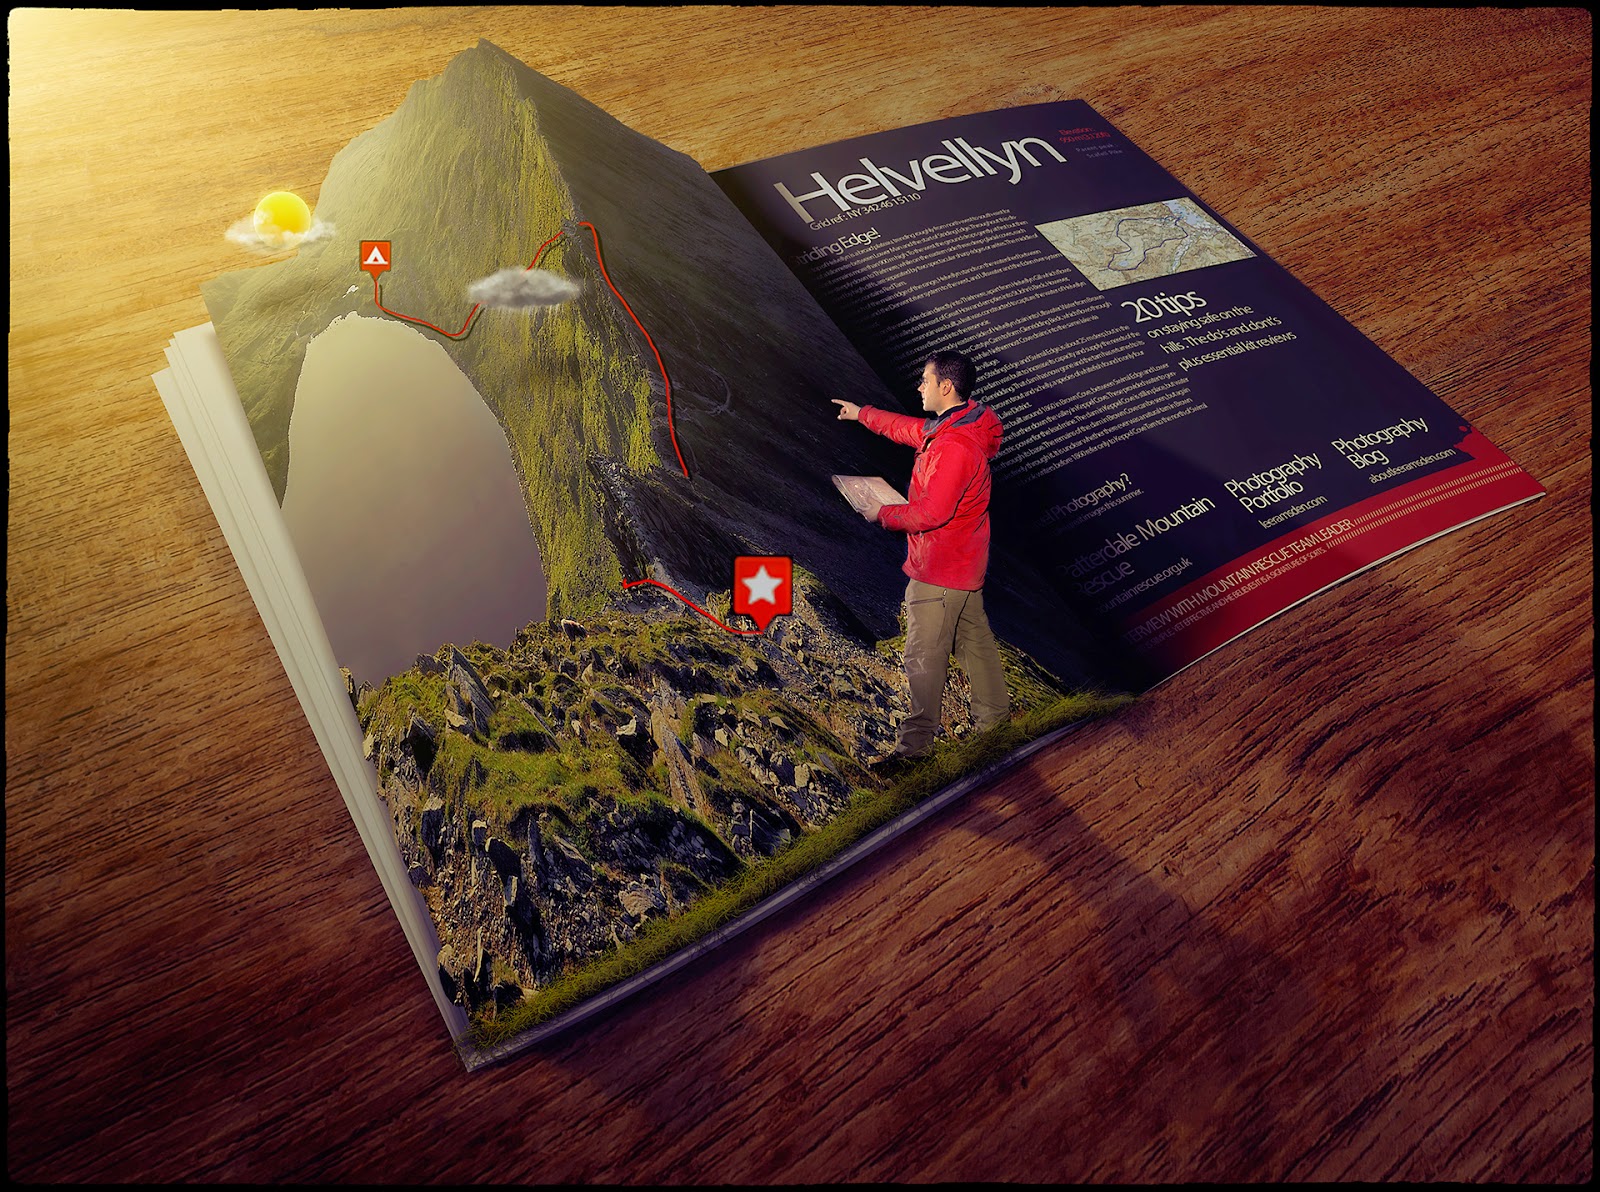
Recently I have had a play with a large composite.

I have for some time now wanted to have a play trying to blend multiple images into one image.

Now my attempt is not pixel perfect, by any stretch of the imagination,

but it was certainly a great learning curve. And something very enjoyable.

I have previously posted in my blog, it’s a great way to keep up to date with the tools of Photoshop

and to try and keep your work flow fast.

It is amazing how quickly you can get skill fade, and end up doing things the long way round.

Your selections, dodging, burning will come on leaps and bounds the more practice you do.

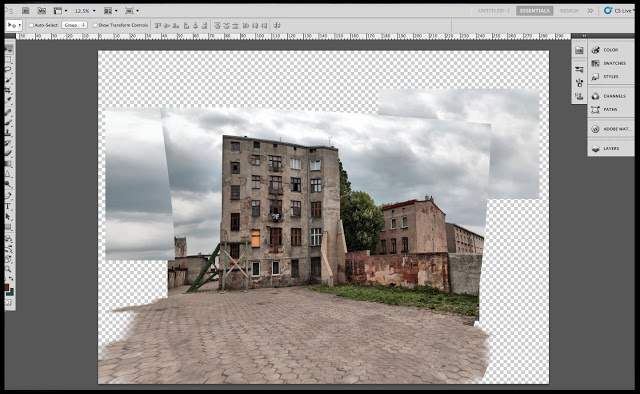
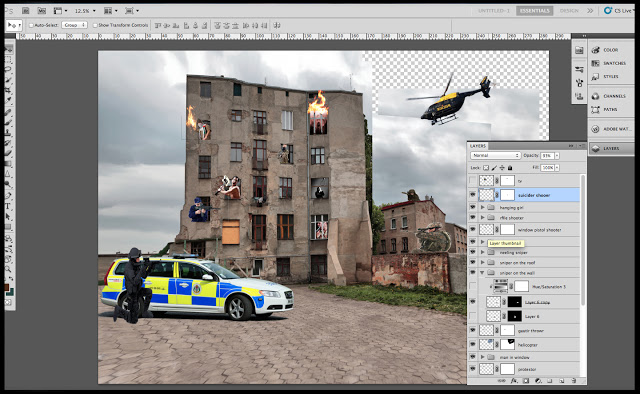
I have included some screen grabs to show where I started and what I have

added.

A starting place of a background from iStock photo.

Straightened the lines and cloned in more of a foreground.

Started adding some elements to the image, i didn't like some in the end and so didn't make it to the final image.

Happy with the placements of the elements. Added a texture over the ground. Just need to render the image with shadings, colouring and few little bits which certainly take the most amount of time in the whole process.

I have enlarged some of the small details so you can see.

I must of been in a real dark mood when i designed this image ;0)

Business Studio Photoshoot, image / branding.

composite images professional for your business website

composite images professional for your business website

Carrying on from the last couple of posts, here are some examples of how a business can improve on their image with some professional photos. 

Composite for your business facebook page

If you book a "Business Studio shoot" with myself, we can work together in creating some professional images of your staff for your website. 

Also if you have not yet created, or want to improve your facebook page, then we can throw some ideas around and show a fun side to your staff. Keeping things fresh and original. 

Glyn Dewis Workshop

Glyn Dewis photoshop training course Dave Clayton

Well the other week i attended my first studio workshop ran by a Glyn Dewis. (UK's version of the photoshop guys) and i was highly impressed.

It was a half day workshop titled

"a workshop full of character"

and the aim is to give you the tools needed to try and create a fun image like the one above. Glyn sets up the lighting but gives you pretty much a free Raine to move the model where you want to in the light, and to pose him on how you see fit.

Once you are happy and have the image that you are after, you all then go through some photoshop techniques on how to create something different. Glyn shows you how to improve an image up to a nice respectable standard... and then the fun starts and you are taught how to push things and come up with great concepts and the fun really begins...

The day is broken up as follows-

  • RAW Conversions
  • Cleaning up your images (Dust spots etc…)
  • Removing Blemishes
  • Eyes (Brightening, add contrast, colour and sharpening)
  • Creating Texture/Adding Details
  • Dodging and Burning
  • Cut Outs (Getting the most out of Photoshop CS5 Refine Edge Command + Extracting using Channels for those using earlier versions of Photoshop)
  • Adding in the Background
  • Creating ‘The Look’
  • :)
  • Special Effects and lots more
Glyn Dewis photoshop composite training photo of Dave Clayton NAPP
Glyn Dewis training KelbyOne Media
Glyn Dewis training Dave Clayton Office background NAPP

My finished image, I can not take the credit for the lighting on Dave Clayton, who was a fantastic model. Or the style he was dressed. But i did really enjoy finding the stock images and coming up with a theme to produce the finished result.

Glyn Dewis Group course attendees photoshop composite course